


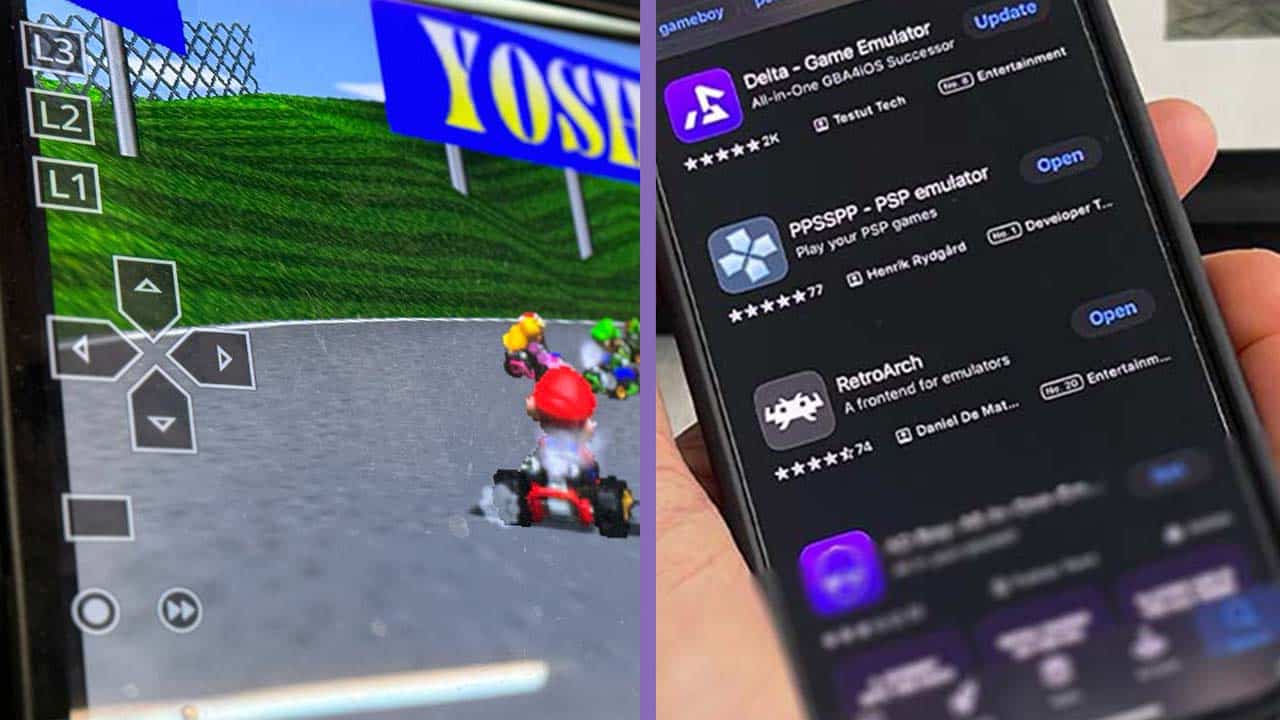
If you’ve been checking out our articles on iPhone emulators or spotting emulators rising up the ranks on the App Store, then you’ll surely have spotted or at least heard of RetroArch. It’s one of the most widely used emulators around and is a sort of ‘jack of all trades’ when it comes to emulating multiple consoles. It’s essentially an emulator that emulates multiple consoles rather than just concentrating on one console series, a frontend for emulation, and it does it by using Cores.
Whoah, Seb; slow down. What are Cores, and what’s an emulator? Well, rather than going into all of that in this article, you can head over to my beginner’s guide on emulation to learn about all these things.
If you’ve checked out that article or already know your cores from your ROMs and want to just get RetroArch working on your Apple device, then fear not – this article will get you up and running with RetroArch in no time. I’ll be guiding you through how to set up RetroArch on iPhone, iPad, and Apple TV. And don’t worry, it’s incredibly simple.
iPhone & iPad
As iPhones and iPads both use iOS, the process for setting up the emulator on both devices is exactly the same, preparing you for playing Homebrew Games that will work on multiple emulators in no time (Hermano is my favourite at the moment!).
1. Download RetroArch
Listen, if Delia Smith can tell you how to boil an egg and get away with it, then I’m sure that I can go to extreme basics with only a few eye rolls along the way. Head to the App Store, search RetroArch, and download the app onto your phone. If you like, you can also set up your Action Button on your iPhone 15 Pro to open the emulator in a second without having to search for it.
2. Sorting Files In The Files App
The Files App is where you’ll be placing files that RetroArch needs to play your ROMs. If you’ve never used it, then it looks like a white document folder (the kind that you might find in an office) on a blue background. This is where you’ll need to drop your ROMs and/or BIOS Files
ROMs
ROMs (as you already know from reading my beginner’s guide) are read-only memory digital copies of video games. As I’ve mentioned above (and just to make sure Nintendo doesn’t slap us on the wrist), we can only really advise the use of ROMs of Homebrew Games, and there are some amazing ones out there to try.
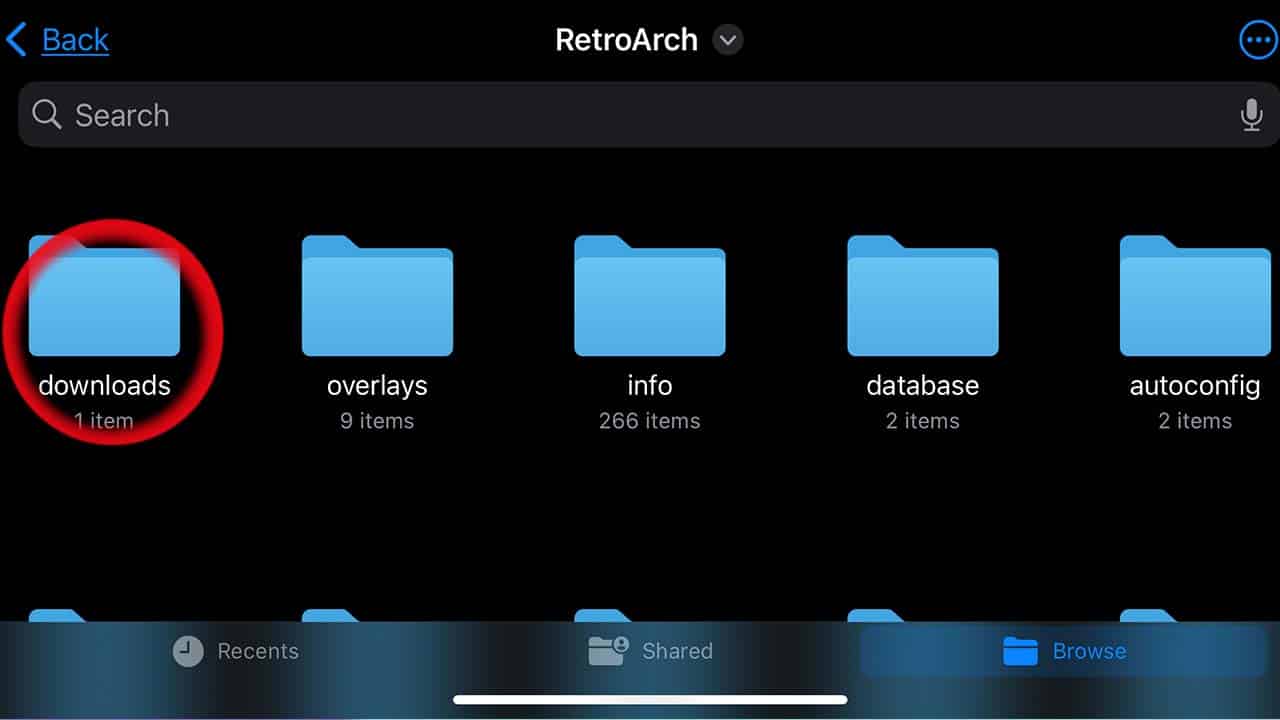
To get ROMs into RetroArch, go to your ‘Downloads’ folder in the RetroArch Folder inside your Files App and create a folder called ‘ROMs’. This is where you’re going to want to put your downloaded games so that RetroArch can find them. To make things easier, that’s:
Files > On My iPhone > RetroArch (Icon on Folder) > RetroArch > Downloads. Click the three dots in the top right corner of the screen and make a new folder, and name it ROMs.
Note – If you’re on an iPad, you’ll need to go to ‘Files > On My iPad. The rest of the steps above are the same.
You can also have your files in your Downloads folder and search for them manually by going into the ‘Open…’ setting on Retro Arch in the ‘Load Content’ menu and browsing around in ‘Recents’. I’ll touch on that in a second.
BIOS Files
It’s worth noting that some emulators will need BIOS files to run. BIOS files recreate the start-up operating software of some consoles and are required to play some games. Obviously, I can’t tell you where to get BIOS files from as it’s against the law for us to distribute or facilitate the spread of copyrighted material, but it is possible to pull BIOS files from your existing hardware using dedicated software.
If you do need BIOS files to run emulators, then head into the Files App and tap ‘On my iPhone’ or ‘On my iPad’. Then, navigate to RetroArch, and find the ‘System Folder’. This is where you’ll need to place your legally acquired BIOS files so that RetroArch can seek them out.
3. Scan For Files
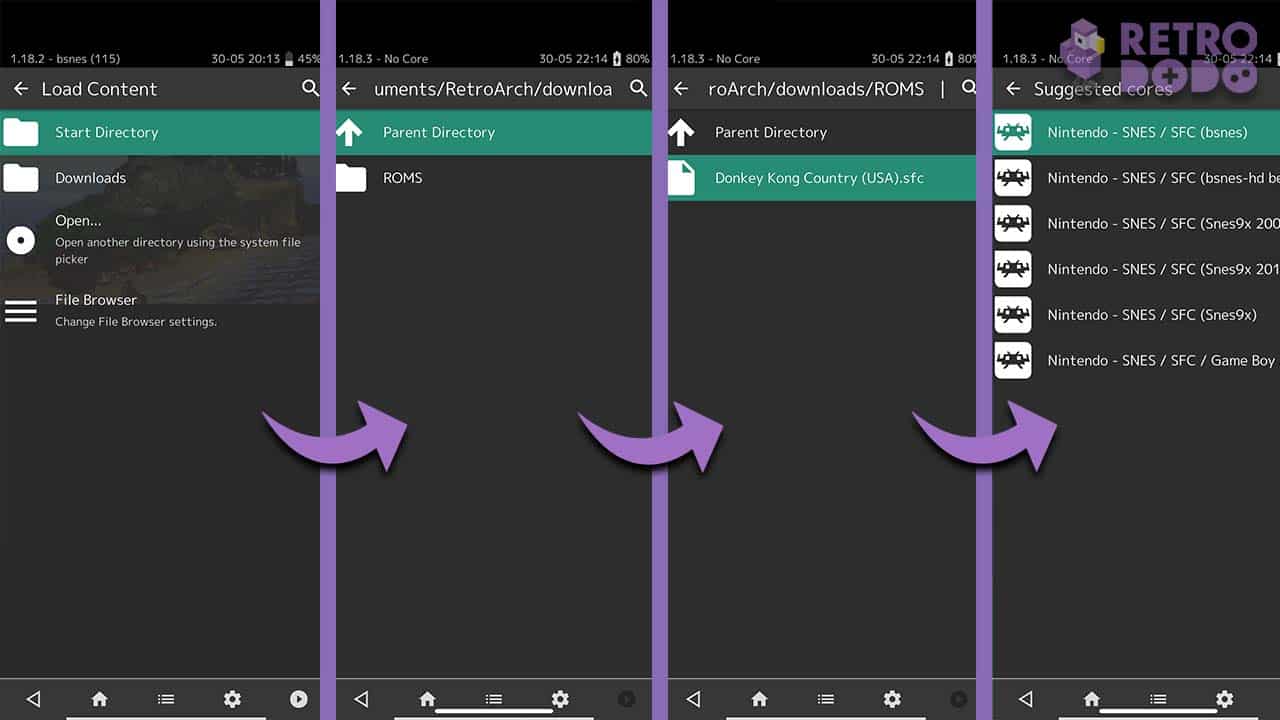
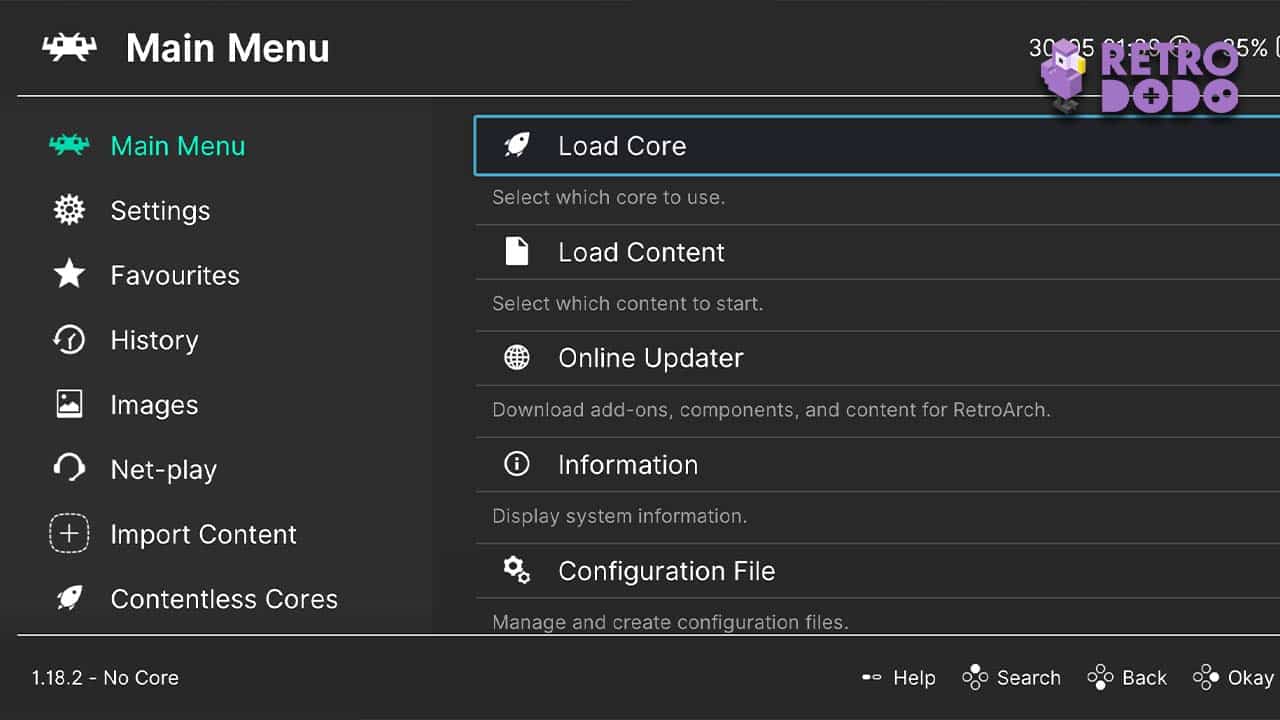
Now that you’ve dropped your files into the ROMs folder that you’ve made, you’ll need to load them up into the emulator. From the main screen in RetroArch, just go to load content, and then navigate to your downloads folder. If you’ve got SNES games in your folder, then you’ll get a SNES option ready to use.
Because I’m a little disorganised, I prefer to just head to the ‘Open…’ folder (the section that has a little disc as the icon’ and find my ROMs manually in the Recents section. Once I choose my ROM, it brings up an option of Cores for me to use in the same way as the method above, essentially asking me which Emulator I would like to open up.
It’s worth noting that all of the Cores you’ll need are already accessible from the app, so there’s no need for you to go out and find them. For the purposes of the picture showing the SNES cores above, I chose ‘bsnes’ as it was the first in the list, and I just really wanted to play Donkey Kong Country!
Apple TV
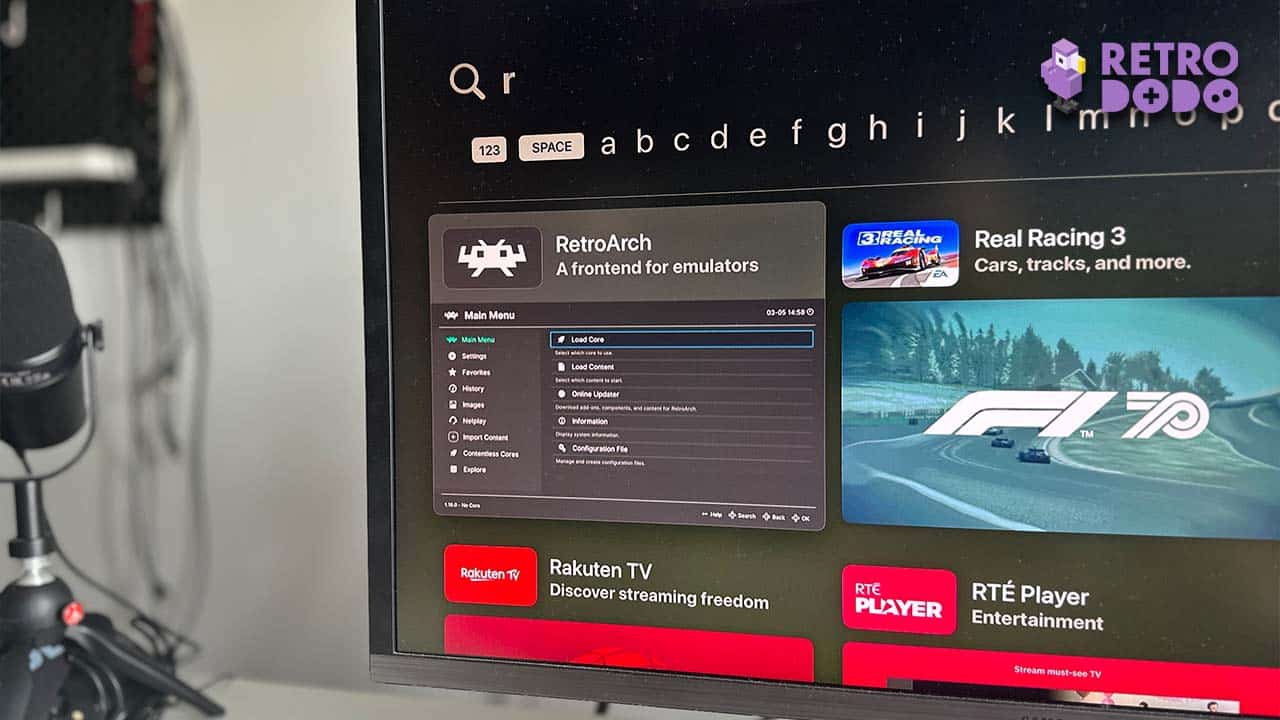
As I wrote in my beginner’s guide, getting the RetroArch App onto your Apple TV box is just as simple as downloading it onto your iPhone or iPad. Just head to the App Store by navigating there with your remote and type in RetroArch (Brandon only had to type ‘R’ into his Apple TV box for it to come up!).
You’ll need to make sure that your phone and your Apple TV box are both on the same WiFi network, which if you’re in your own house with your own devices, then you already should be. Then, head to TV.Local/link on your phone and head to your download folder. Just follow Apple TV > RetroArch – Downloads Folders.
You’ll need to upload the files that you want to play on your Apple TV box to this folder so that RetroArch can find them when you start gaming on your TV. That’s it, you’re all done!
Customising The RetroArch App Icon
There are a bunch of different App Icons for users to swap between already built into the App Settings, and while they don’t do anything bar look good on your home screen, it’s a nice feature to have.
To change your App Icon, simply go to Settings > Appearance > App Icon. Then, once you’ve clicked on your icon of choice, it will appear on your home screen!
Customising Your User Interface
I’m going to start this section off by saying that it really isn’t necessary to do this, and I say this because I changed my interface to one that looks like the PS3 home screen and I couldn’t for the life of me figure out how to change it back as every button I pressed seemed to do the same thing which was open up Cores. Still, the option is there if you do want to mix things up a little.
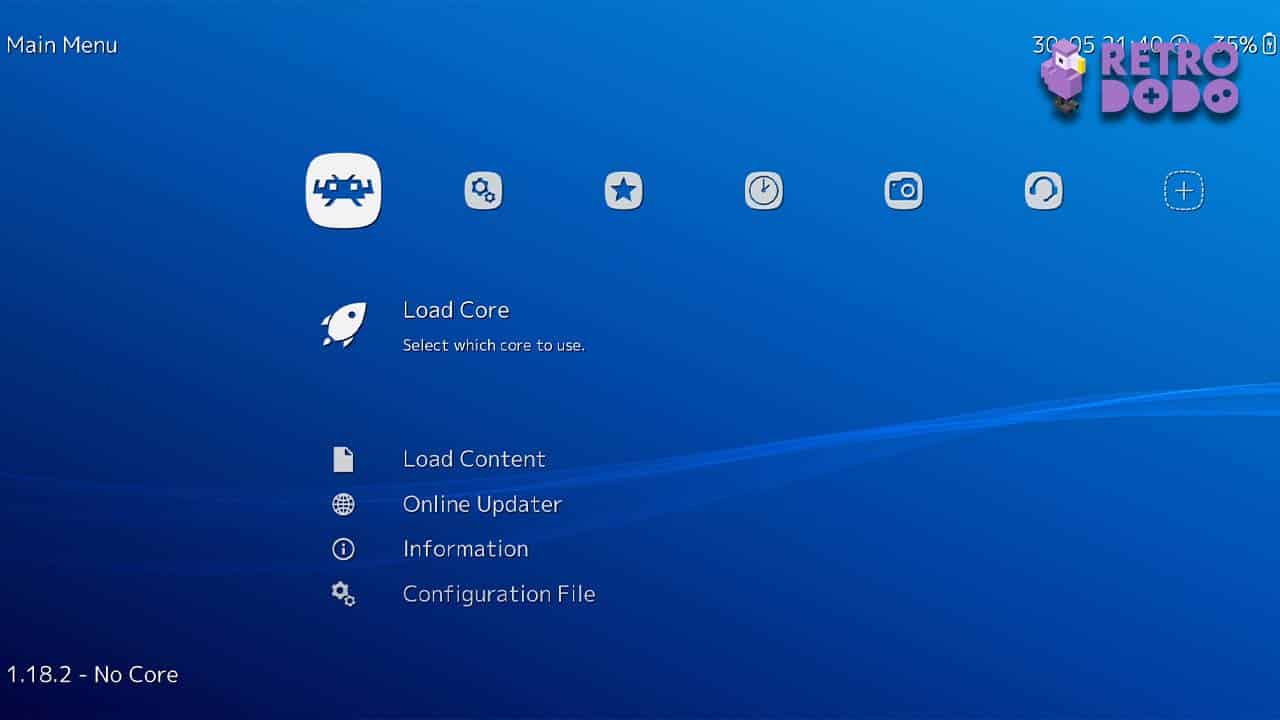
Just go into Settings and click on Drivers. Then, you’ll be given a selection of skins to change the way your UI looks, essentially making things hard to read in portrait mode and only really useful in landscape mode. I’ve never sounded as old as I did there in my entire life, but there you have it.
Final Thoughts
Now you know how to get ROMs up and running in RetroArch, as where as where BIOS files go, and how to change some customisable settings. This is just the tip of the iceberg, however, and RetroArch is anything but an easy program to navigate if you’re a complete beginner to emulation.
If you are a newcomer and just want a simple-to-use program, choose Delta. However, if you want to get into the crux of emulation and learn everything there is about mapping hotkeys, playing with frame throttle, and messing around with video output and latency settings, then RetroArch is the best place to learn all of this stuff. It’s a treasure trove for emulation fans, but learning all of its secrets is a little like fighting a dragon while using a broom handle – exciting but definitely stressful at times!
Check out our article on the top emulators for the iPhone for more information on the different Apps available!


