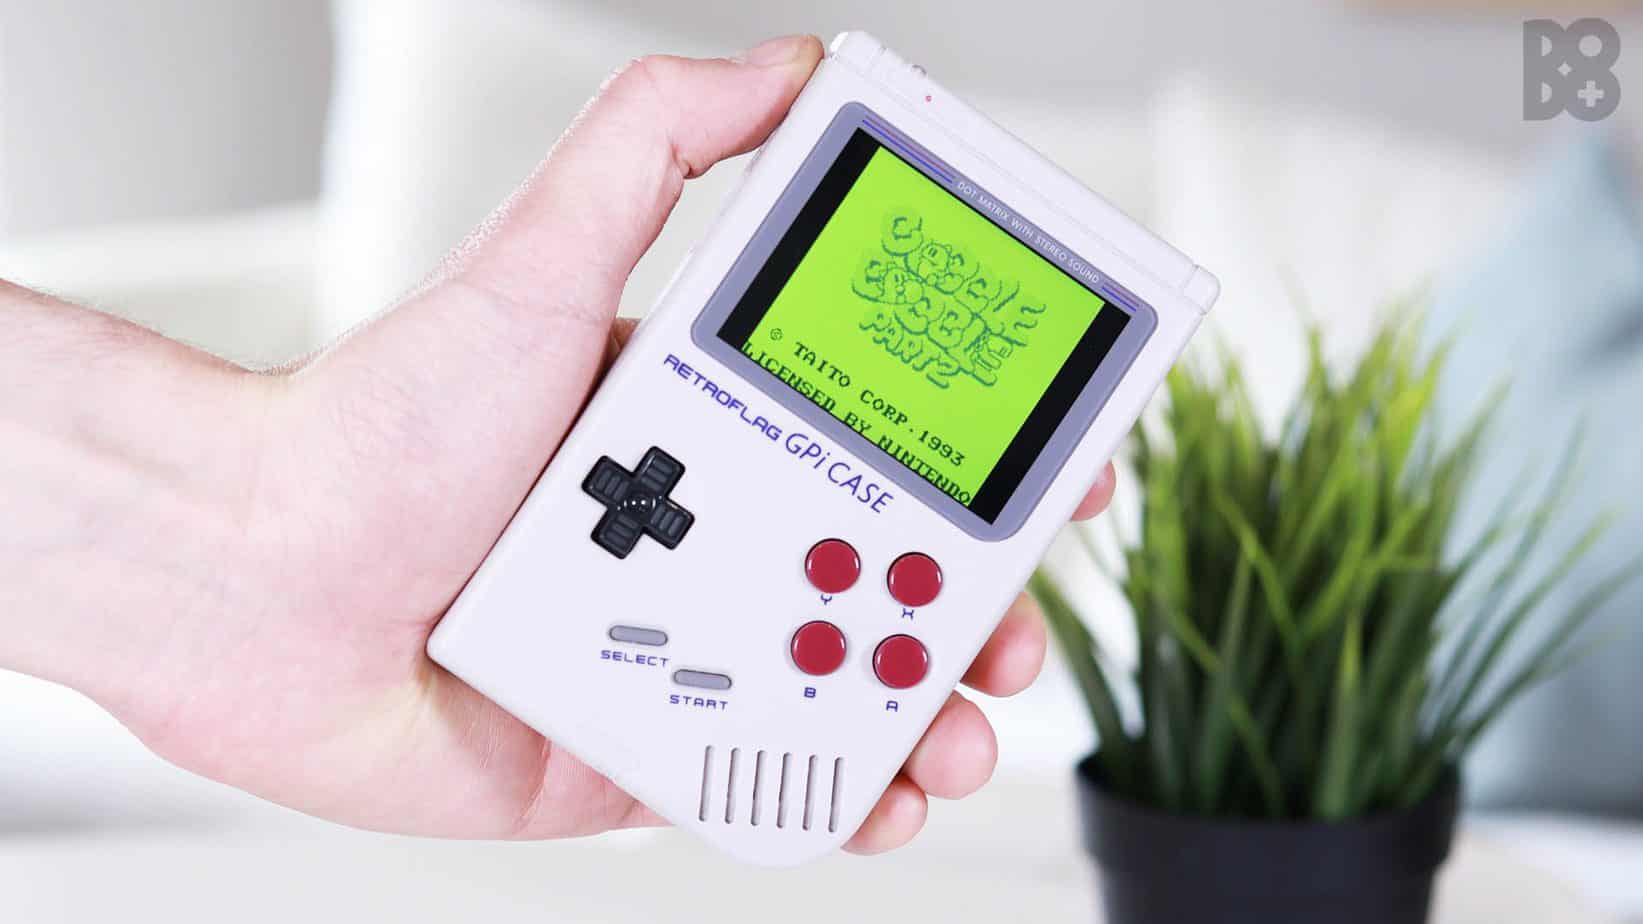
2019 was a HUGE year for portable emulation, especially with the release of the Retroflag GPI Case that mixed modding with Nintendo’s Game Boy DMG.
We have seen the release of the LDK Game, the LDK Horizontal, The Pocket Go from Bittboy and various other handhelds including a ridiculously premium Metal GameBoy Advance running off of a Raspberry Pi, which costs more than the Nintendo Switch.
What Is The Retroflag GPI Case?
The technical lingo for this product is a “hat”, but not the kind that cowboys wear. This device allows you to drop in a Raspberry Pi Zero (or Zero W) and emulate all of the major retro consoles we love.
Before the GPI Case, modders in the PI Gaming community were building PI GameBoys out of official GameBoy shells, this involved monumental amounts of soldering, plastic cutting, and hot gluing.
As the scene became more popular, users started printing their own PCBs (printed circuit boards) to minimise the work.
For example, before the printed PCBs, modders were cutting the bottom end of the DMG GameBoy’s circuit board in order to get the button contacts to control their PIs.
Then, large amounts of very technical soldering was involved to use a cut up 30-year-old motherboard to interface with a modern computer… yeah…
Fast forward to today, and the handheld is (mostly) ready to go. Unfortunately, the software is not included with the Raspberry Pi, so an additional micro SD card has to be purchased ($5 – $10 for a good one) on top of the price of the Pi Zero ($20) and then formatted to work with the Pi, and then the various software has to be installed.
As confusing as this may sound, the process is extensively covered online so armed with a hot cup of tea and a couple of bagels, you will have no problems jumping this hurdle.
So Is It Any Good?
The GPI Case costs $69.99. That’s a pretty important factor to take into consideration. The screen is a 2.8”, 320×240 IPS display which is the perfect resolution for retro gaming.
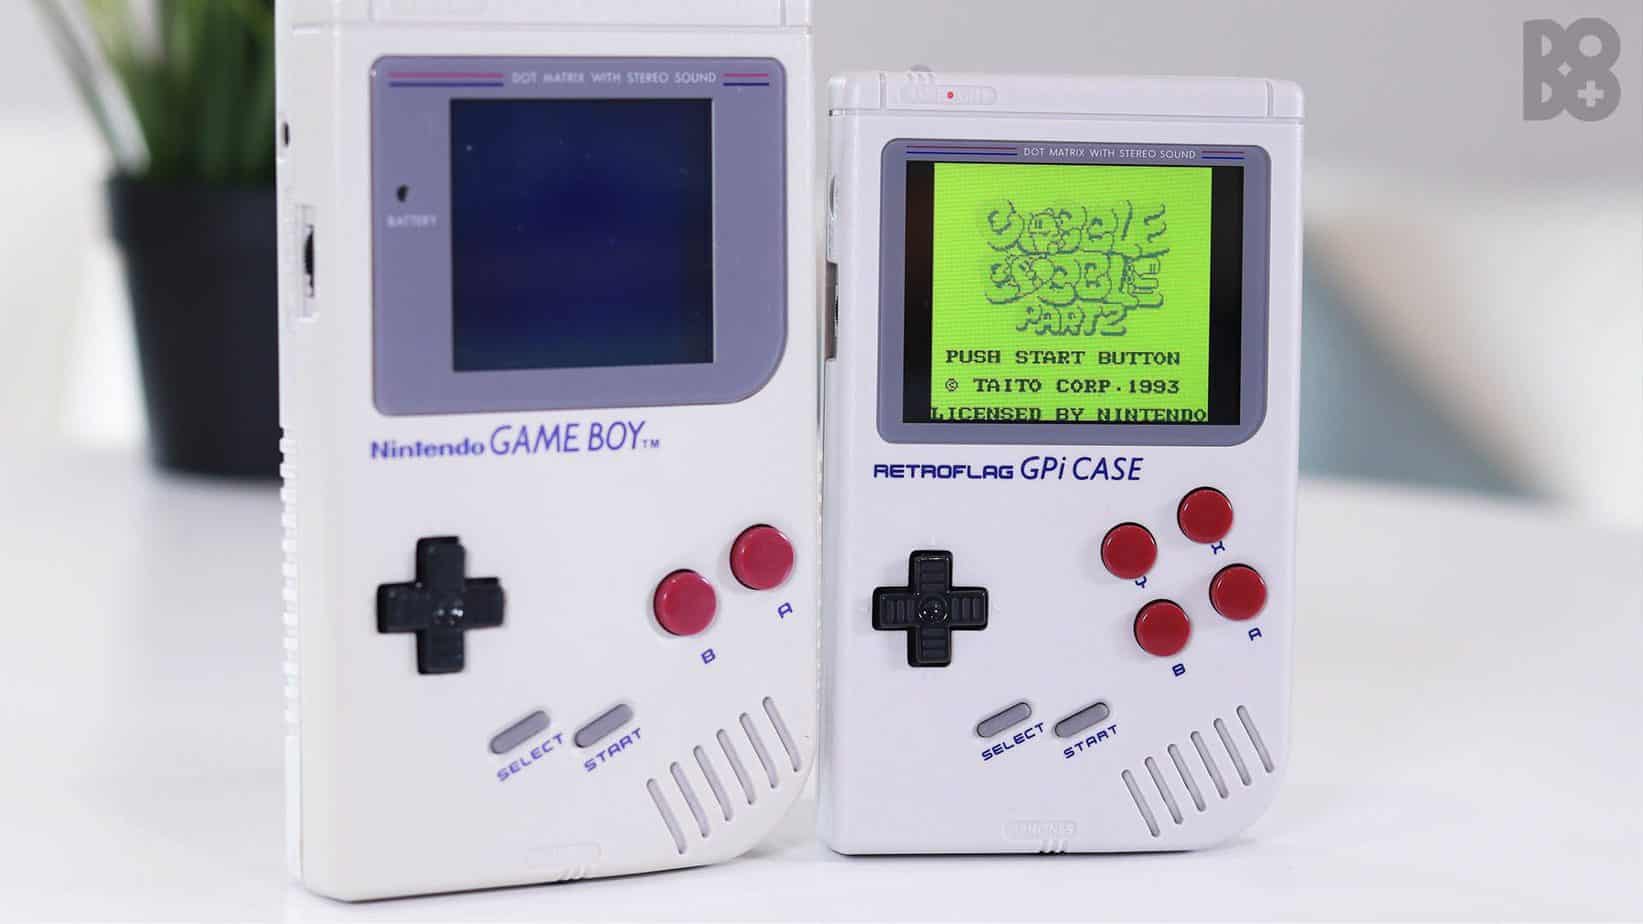
The buttons have been custom injection moulded to look like the original DMG buttons, but on a smaller scale. I like this attention to detail.
They could have just used the low-quality GameBoy buttons that China sells on AliExpress, but they decided to take this product to the next level and make bespoke buttons for the device. As well as the buttons being smaller, so is the whole unit.
The GPI Case is about 1cm smaller in every which way (135 x 81 x 32mm) which makes this thing a rather pocketable device compared to the original DMG.
Around the outside of the unit you have an input for a 5v barrel plug connector (included with the system) which can allow you to power the unit off of USB.
As well as that there is your expected volume wheel, brightness wheel, stereo headphone jack, power switch, and slot for 3 x AA batteries, which we will talk about later.
The speaker on this device is very authentic, there is sometimes a low-level hum that comes from the speaker, but having the game volume anywhere above 1DB drowns that out with no bother.
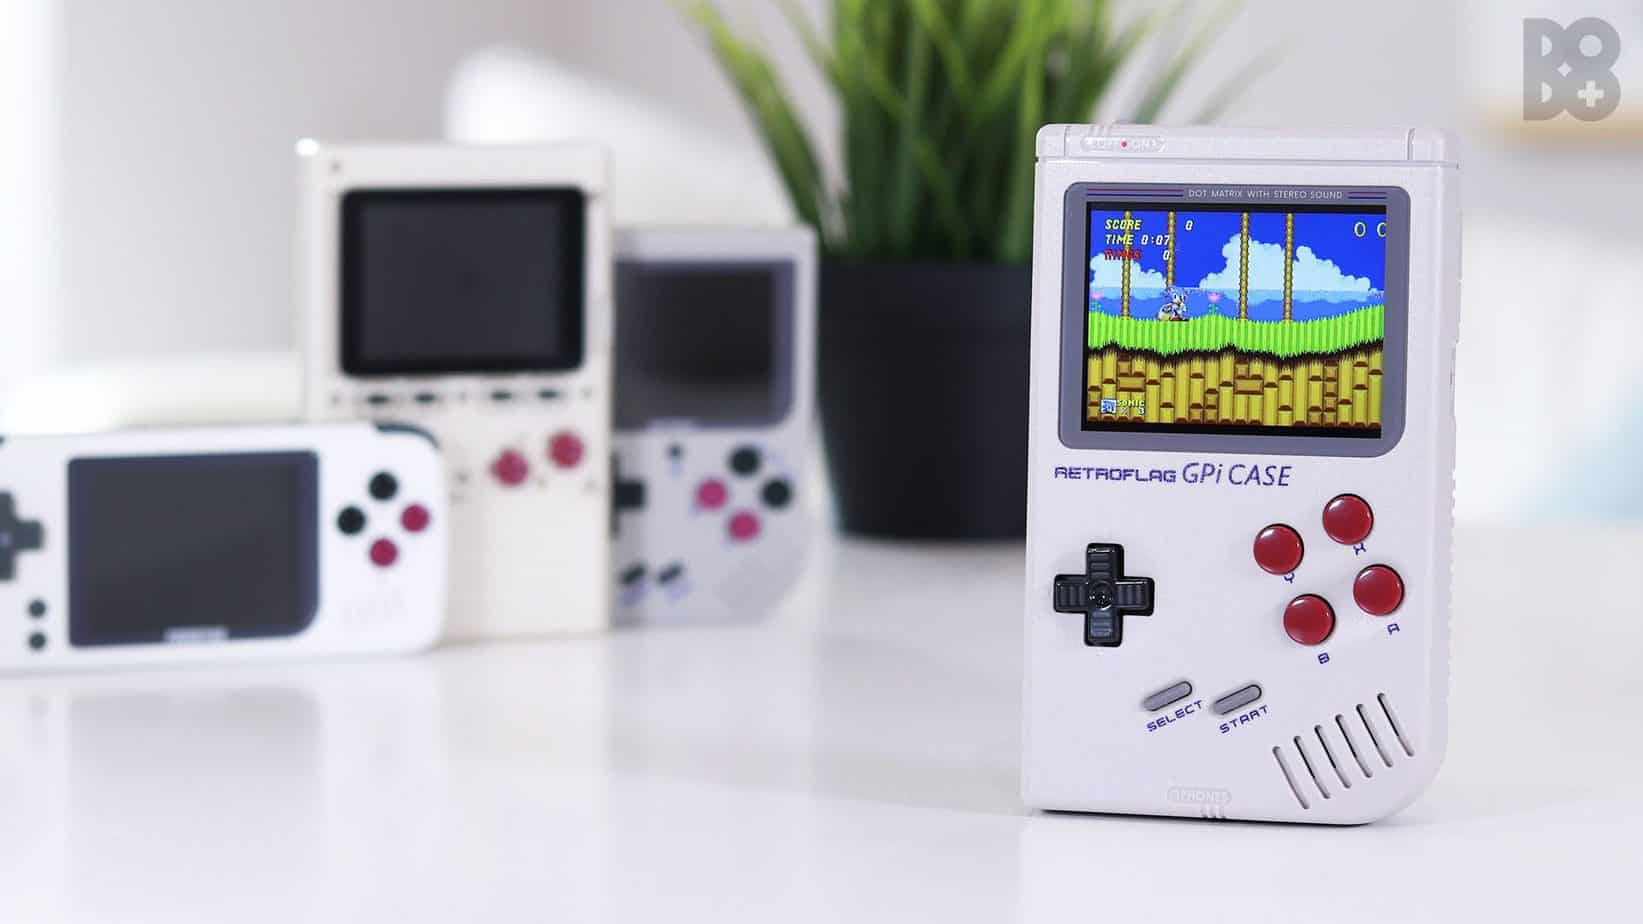
The buttons have a very authentic feel and have no measurable latency as far as I can feel. The screen lens has been custom-made to fit this display, and also features the small red and blue lines we are used to seeing on the original GameBoy, as well as the famous “DOT MATRIX WITH STEREO SOUND”, giving the DMG GameBoy its name, the Dot Matrix GameBoy.
And finally, you will find two very comfortable trigger buttons on the rear of the handheld, L & R for SNES, GBA, and PS1 games.
This is a lovely addition to the unit. Especially considering that modders in the Raspberry Pi community were using thin micro-switched buttons, which from personal experience are very harsh on my tender fingers.
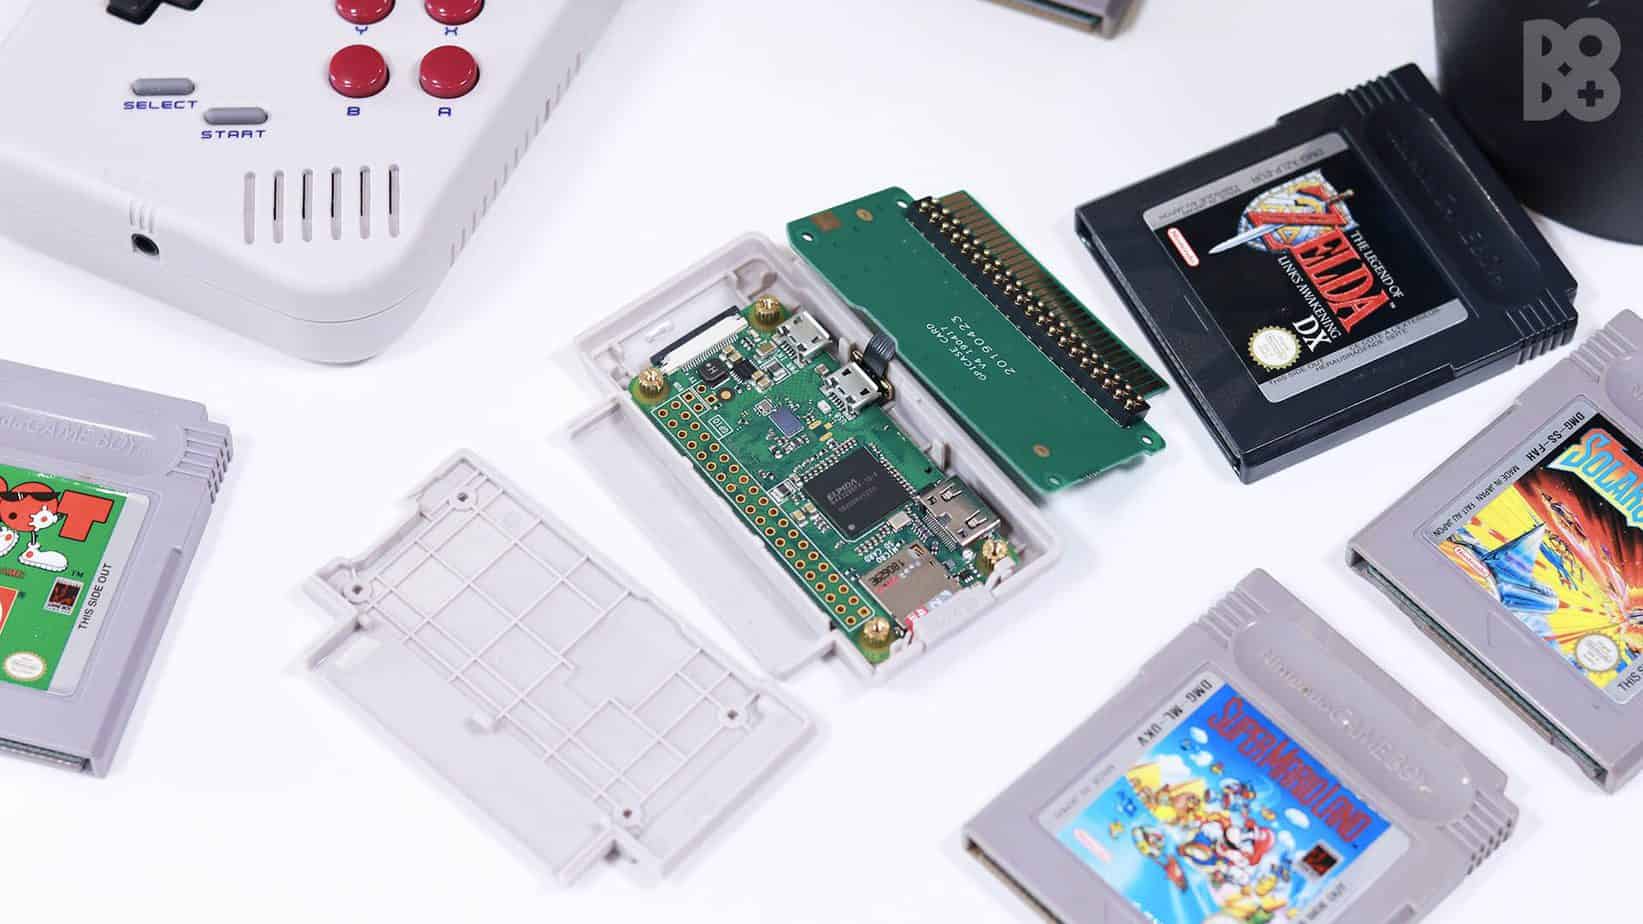
It also very important to note that this requires 0 soldering. There is a small amount of assembly work required – 4 screws to hold the Pi Zero down into its lovely little housing (made to look like a GameBoy Game) and then a small ribbon cable that connects to the 2nd motherboard, used to connect the Pi to the Retroflag GPI Case using pins also very similar to a GameBoy game.
Finally, a further 4 screws tighten the housing together, which in turn applies pressure to the two boards which are then connected using a solderless connector.
This whole assembly then connects into the Retroflag GPI using a cart slot which looks like it has been taken directly out of an official GameBoy. Very authentic.
How Does It Play?
In terms of the gaming experience, it’s perfect. Anything that isn’t perfect can be tweaked as it is usually just a software-related problem, e.g. using a different emulator.
This is a review of the handheld itself, as opposed to a review of Raspberry Pi gaming. We will save that for another time.
The only major flaw in this unit, besides its low production quantities, is the power! That’s right, the use of 3 x AA batteries to “pay homage to the original GameBoy” just isn’t enough.
It works perfectly whilst the batteries are full and new, but as they start to deplete, so does the system’s ability to function correctly.
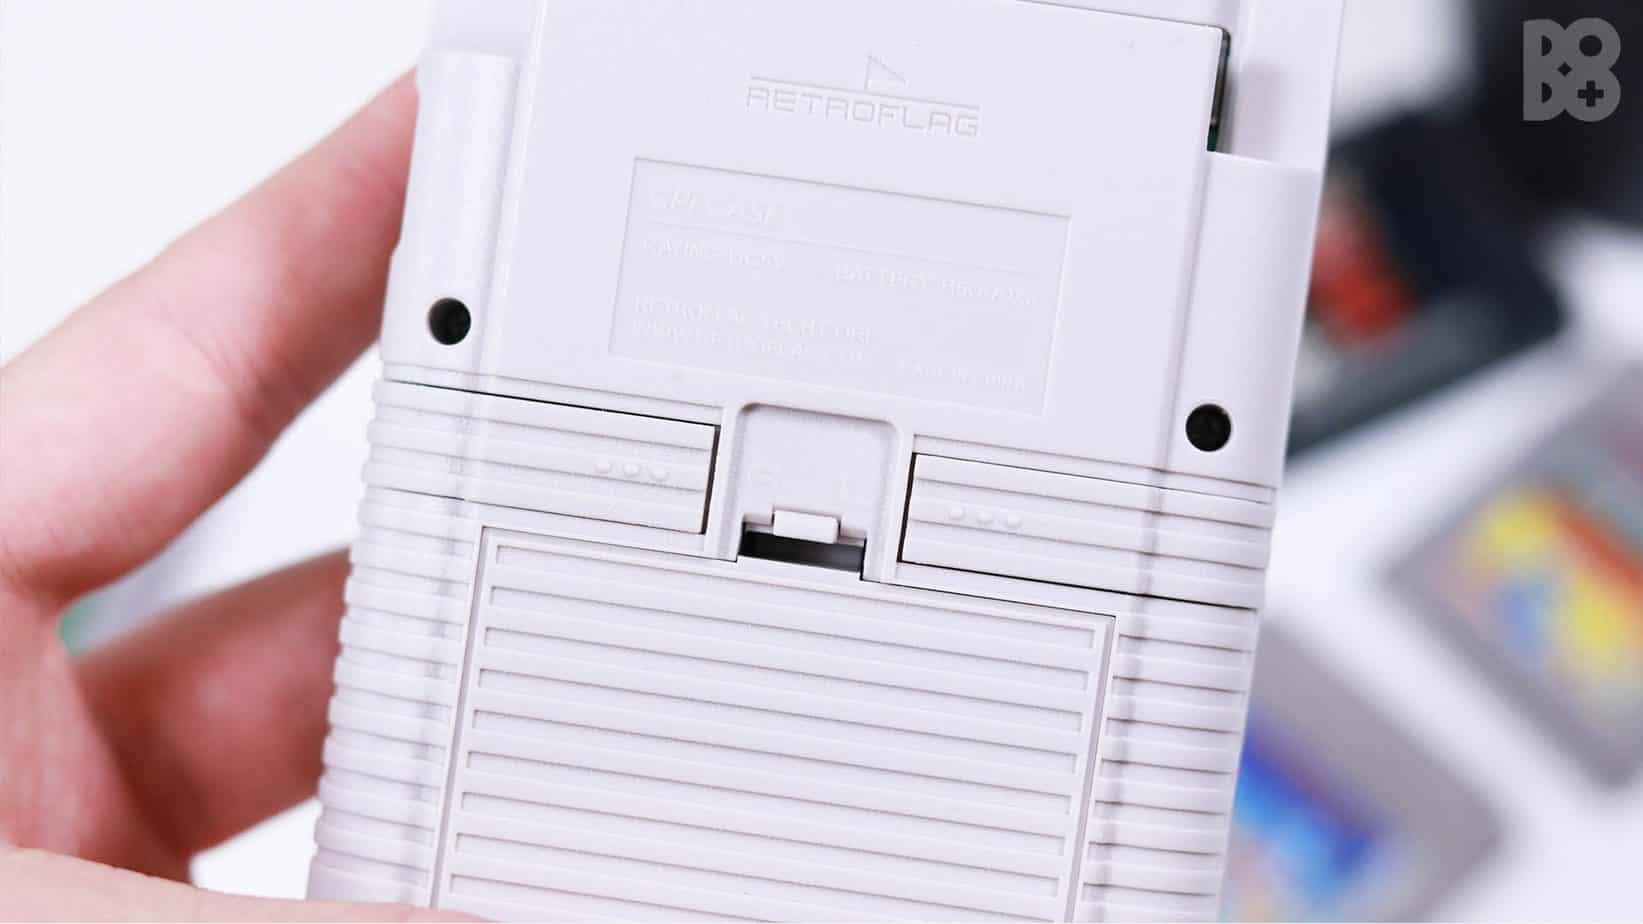
The whole thing slows down and becomes un usable until it just powers off. The battery life lasts about a day of regular use, picking it up and putting it down for the average gaming session.
We would have liked to see a rechargeable battery in here, but perhaps that could be coming in the next version of the GPI Case? Who knows.
Final Thoughts On The Retroflag GPI
In summary, this thing is brilliant. We are always super excited to pick these kinds of products up. It’s a lovely device to hold and use, the whole experience is very authentic and really excites us for the future of handheld emulation gaming.
It’s not fully there.
The battery ordeal is a shame, the software installation process is a hassle and the combined $100 price tag for the whole set is also a bit of a downer. But looking past all of that, it’s a lovely way to play the retro games we enjoy.
If you want to learn about Raspberry Pi’s, if you have a pretty good budget to spend on a GameBoy, and you are able to keep fresh AA batteries with you at all times (or good rechargeable ones) then this is perfect.
If you want something more stationary to play your old retro games, Retroflag has just revealed their new NESPi 4 Case which allows you to put a Raspberry Pi 4 inside of a NES like console, it’s actually pretty dope!

