


There are some articles that you've spent your life thus far working towards writing, and this is one of them. If you're here to figure out how to get through the first dungeon in Ocarina of Time, then you're in safe hands. I've completed this dungeon so many times that I know it like the back of my hand, and I also know the original well enough to be able to spot some of the intricate changes that Nintendo has implemented into the game to work with the new camera and jump mechanics.
I'm going to help you through how to do the first dungeon, Inside the Great Deku Tree, just like Nintendo Official Magazine helped me do the very same thing back in 1998. If you haven't already checked out my guide on how to get the Kokiri Sword or the Deku Shield, then you'll need to read those first so that Mido will let you through to see the Deku Tree.
Getting To The Deku Tree
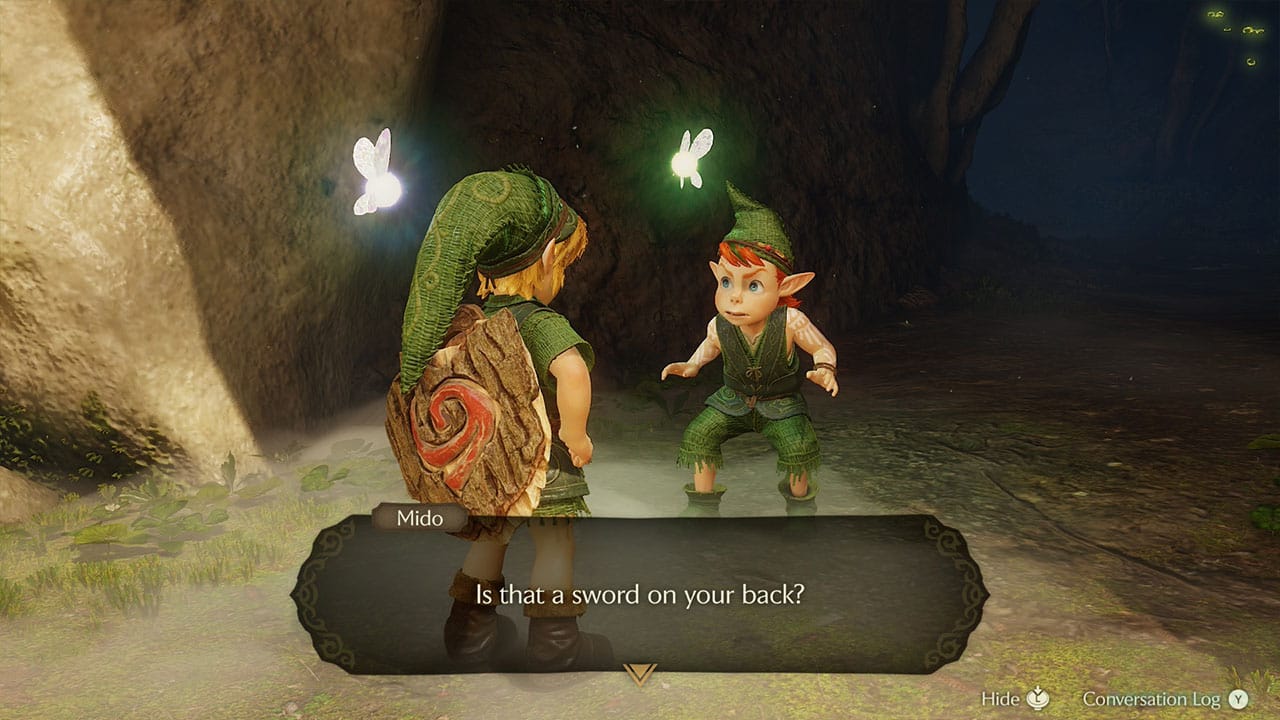
When you pass through Mido's tunnel, you'll be met with Deku Babas. They're like monstrous Venus flytraps that want to eat you, and you'll come across these a lot throughout your adventure. They're also how you get Deku Sticks, and you'll need those to light torches in dungeons along the way too.
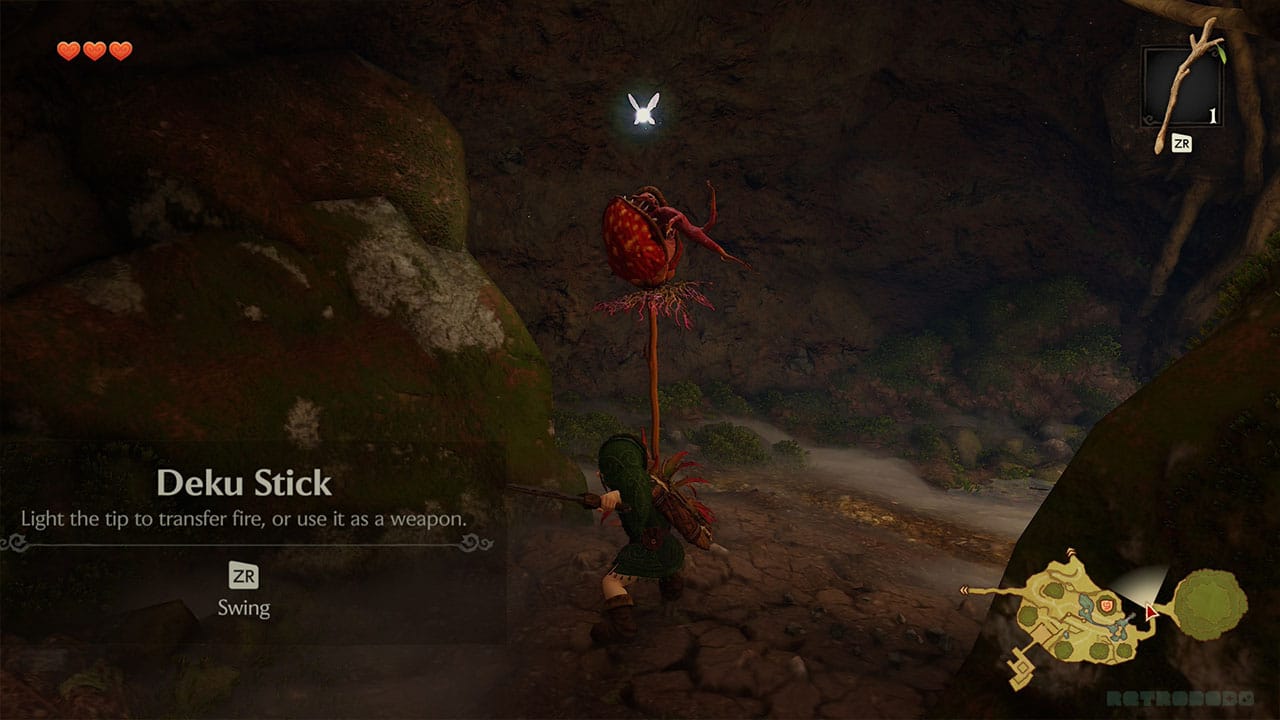
You can lock on to Deku Babas and slash them with your sword to kill them. This is how you get Deku Sticks and soon Deku Nuts, little nuts that you can fire at the ground to stun enemies. If you use a Deku Nut on a Deku Baba, you'll stun them, making them stand upright and exposing their vines. If you slash them in this state, they'll create Deku Sticks, which can be used to attack and light torches from flames. At this point, there are only Red Deku Babas that only give you Deku Sticks
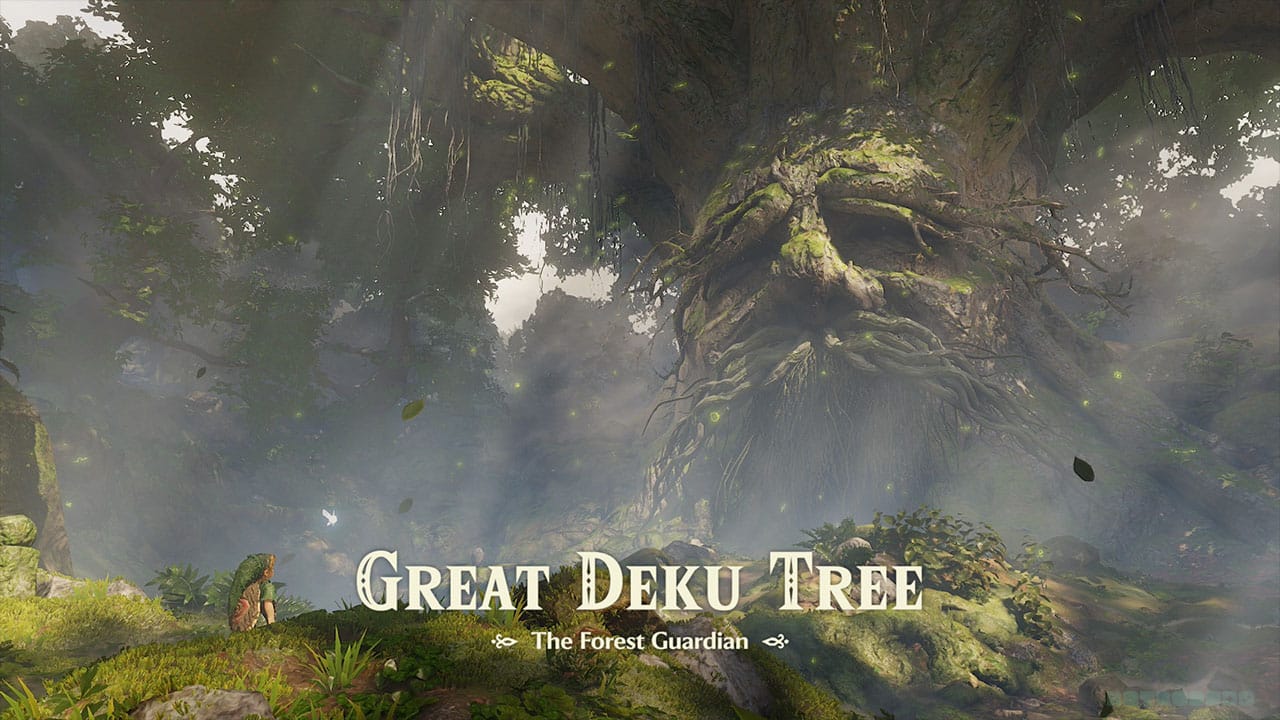
Once you've dispatched the Deku Babas, you'll come to the Great Deku Tree himself. Navi will have a bit of a chat with him, and then he'll open his mouth and let you enter the first dungeon. There's an evil presence causing him bother, undoubtedly brought by the evil Ganondorf cursing him afar for not allowing him to have the first spiritual stone.
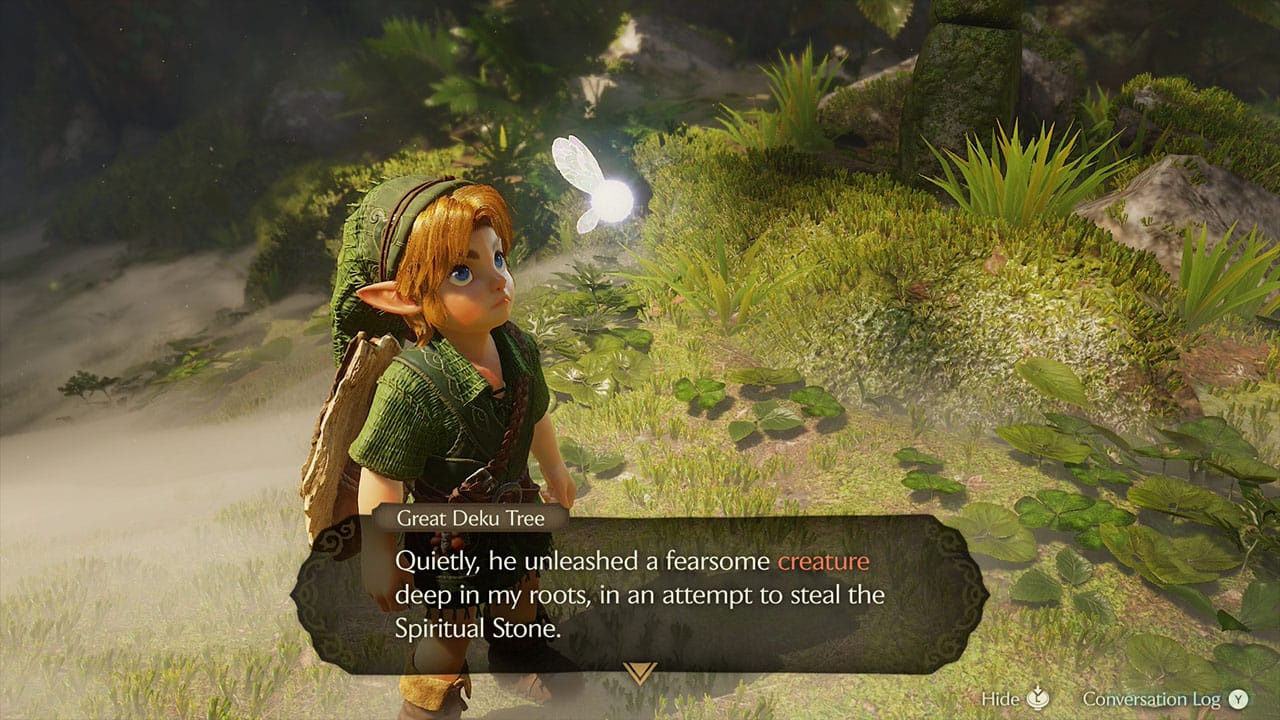
NB - There are Gossip Stones here, which is a new feature, but you won't be fully able to utilise them yet. Also, for the old Ocarina fans, the Deku Tree's language is different and less Shakespearean than before, which is kind of easier to digest.
Inside The Deku Tree
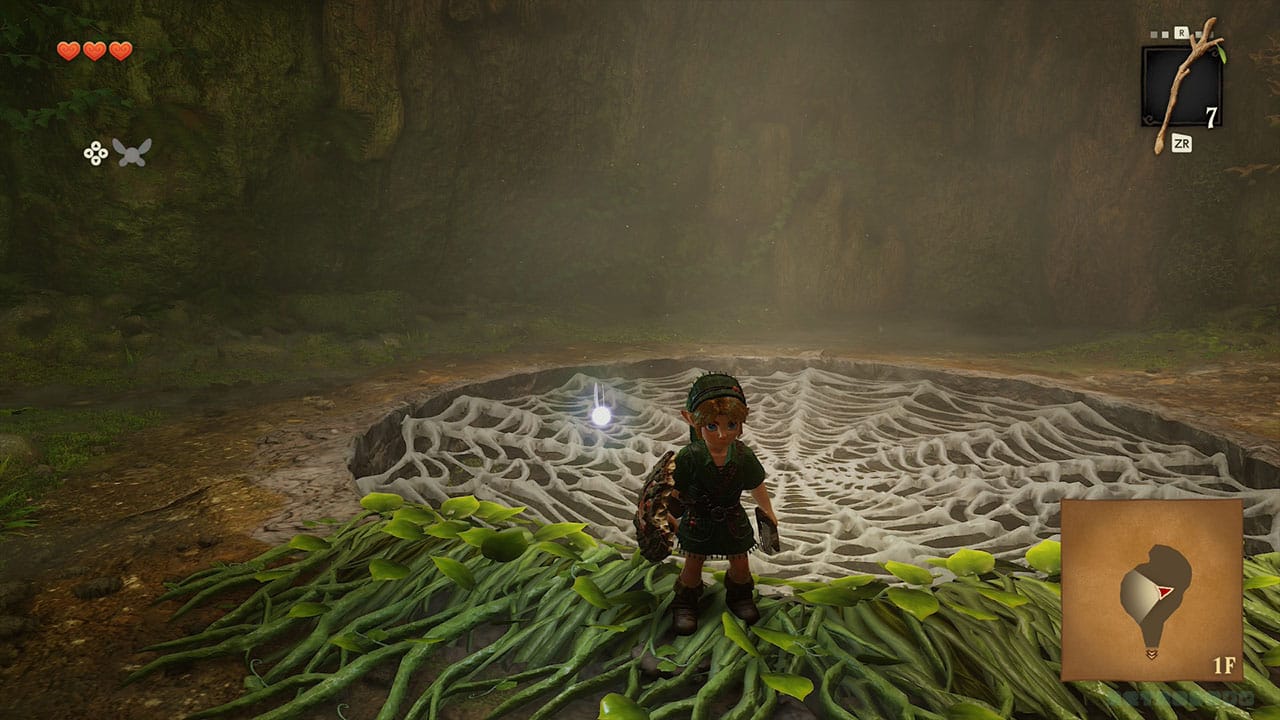
When you get inside the Deku Tree, you can instantly tell that something's wrong. There are cobwebs everywhere, including a huge one on the floor, which means that there are going to be spiders. Or in this case, Skulltulas. First up, you'll need to take down the Deku Babas. Dispatch them in whichever way you see fit, depending on whether you want Deku Nuts or Deku Sticks.
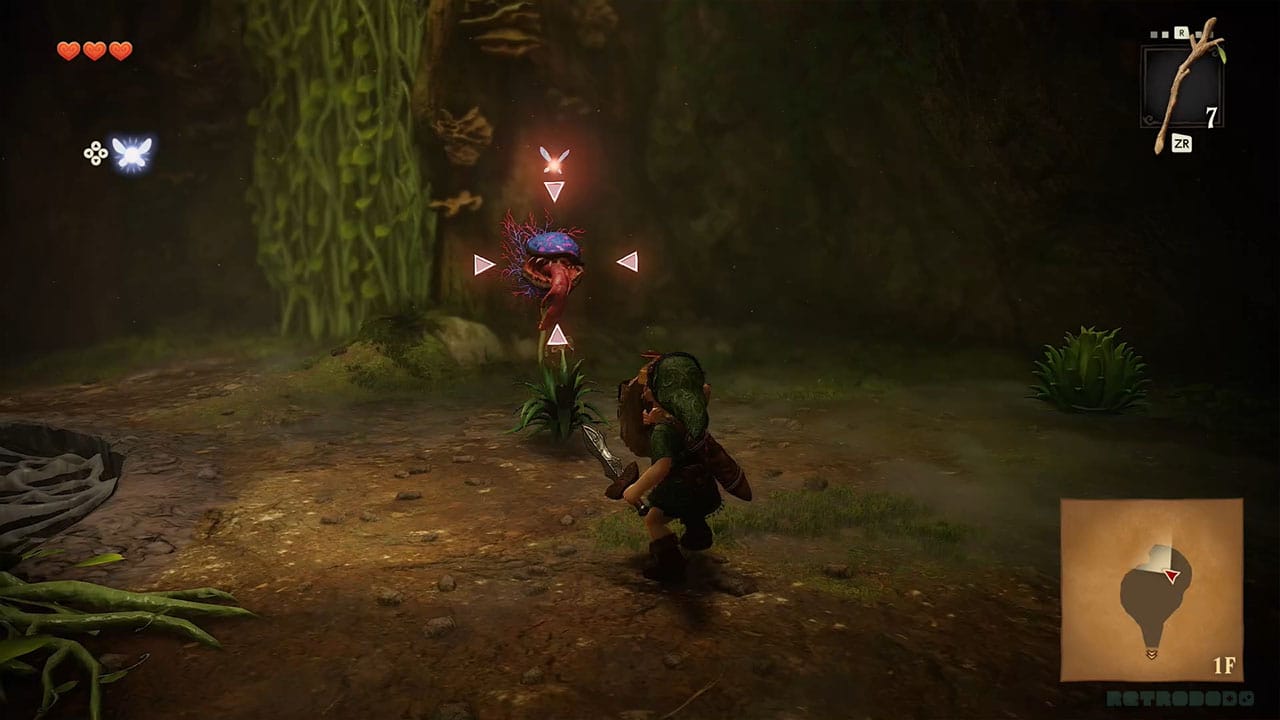
Straight ahead of you will be some vines on a wall. Climb up those to the next level. There are a couple of gaps to jump over here, but nothing that the new jump mechanic can't sort out
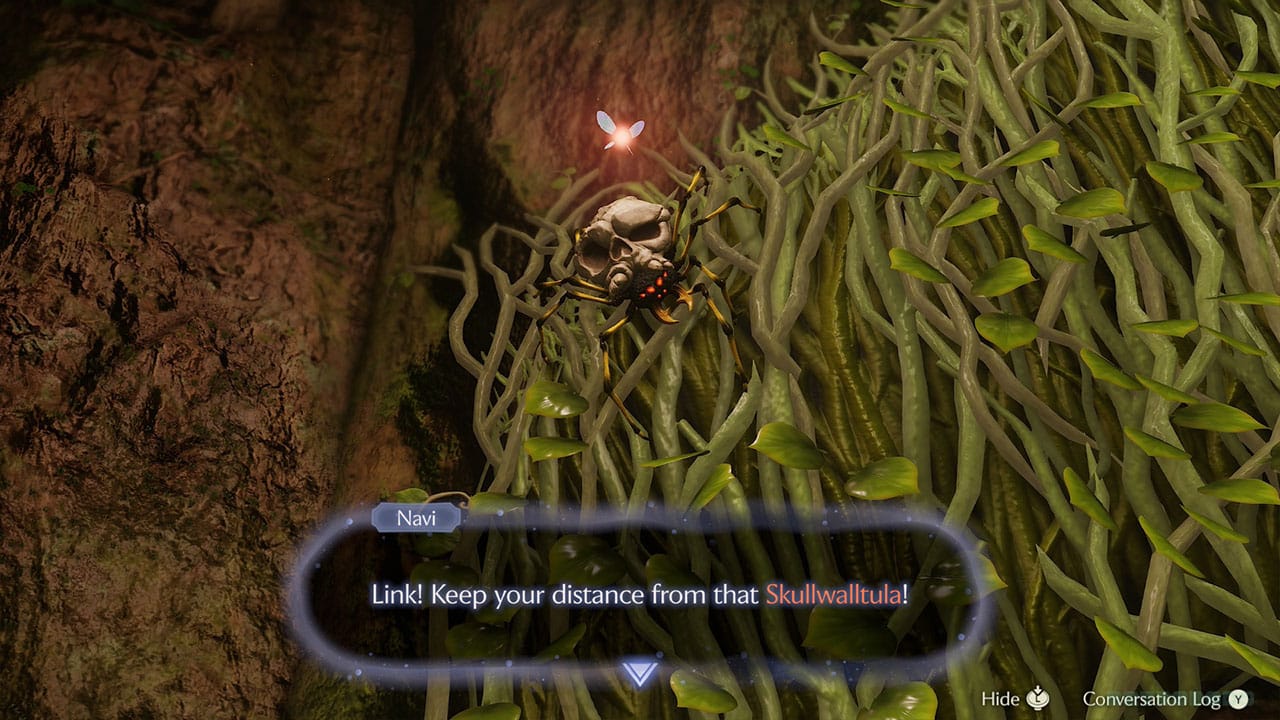
As you move along to the next vine area, you'll come across a treasure chest and your first spiders - Skullwaltulas. These will run at you if you try to climb up the vines without taking them down, so leave them for now and open up the treasure chest.
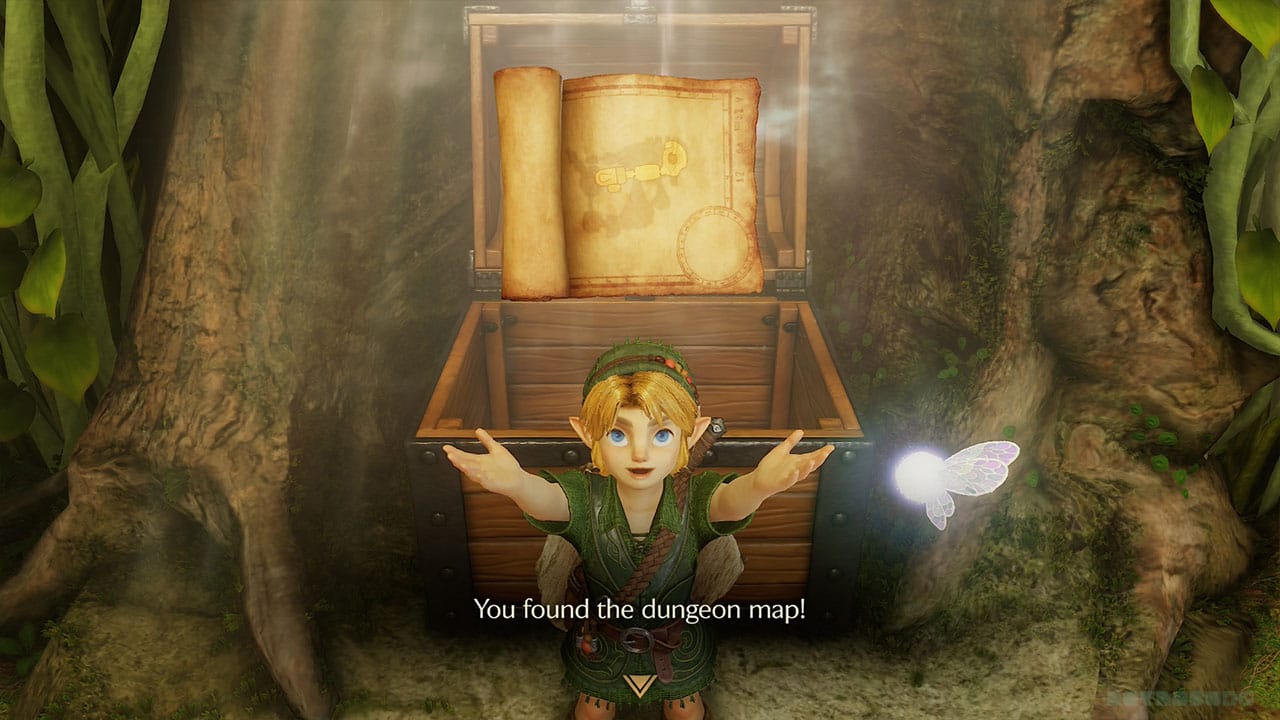
This chest contains the Dungeon Map. Now you'll be able to see the different rooms on different levels. Blue rooms are rooms that you've been to, so you can get a good idea of where you need to go next.
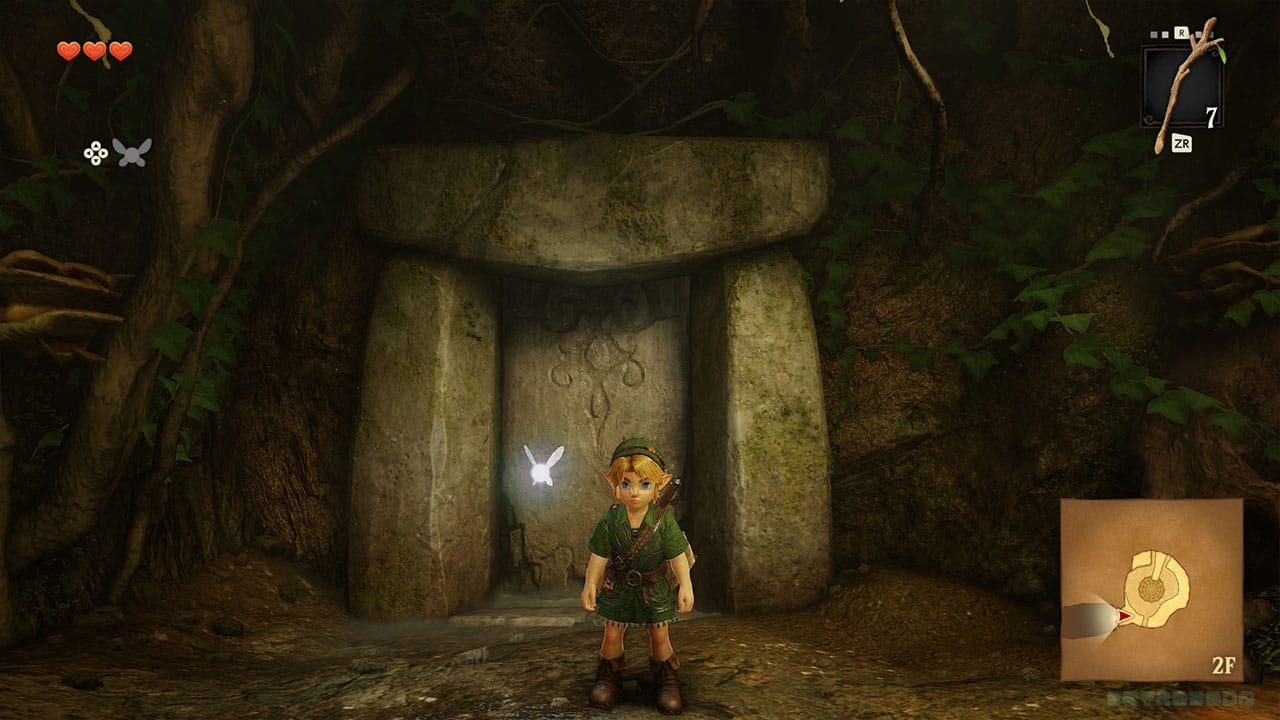
Carry on along the level you're on until you reach your first dungeon door. It looks like a stone slab, and it slides upwards as you stand outside and press the A button. Head inside.
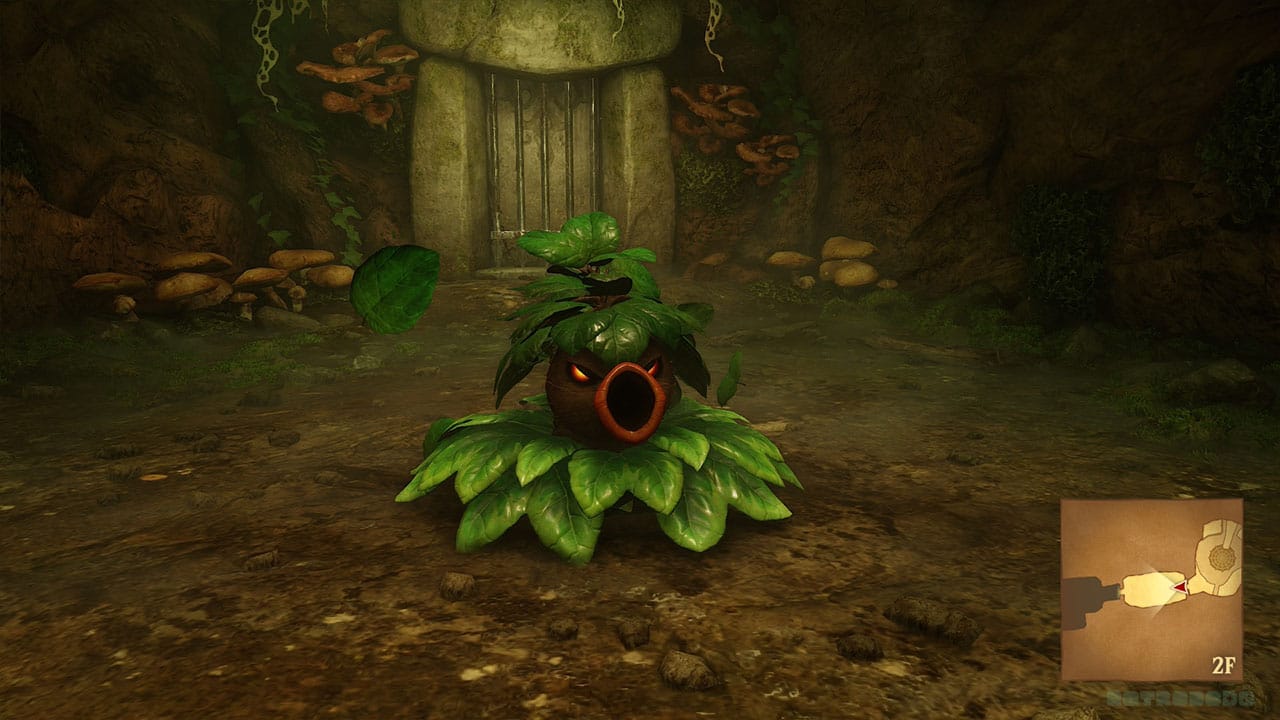
When the door closes, iron bars will lock you in. You're met with your first real challenge - a Deku Scrub. This is where your Deku Shield comes into its own. The Deku Scrub fires nuts at you, and you need to hold up your shield to deflect them. If you chase the Deku Scrub and slash it before it gets back into its little hidey hole, it will give you some advice on how to roll when jumping off a platform. It will also give you a rupee to bump up your money.
Getting the Fairy Slingshot
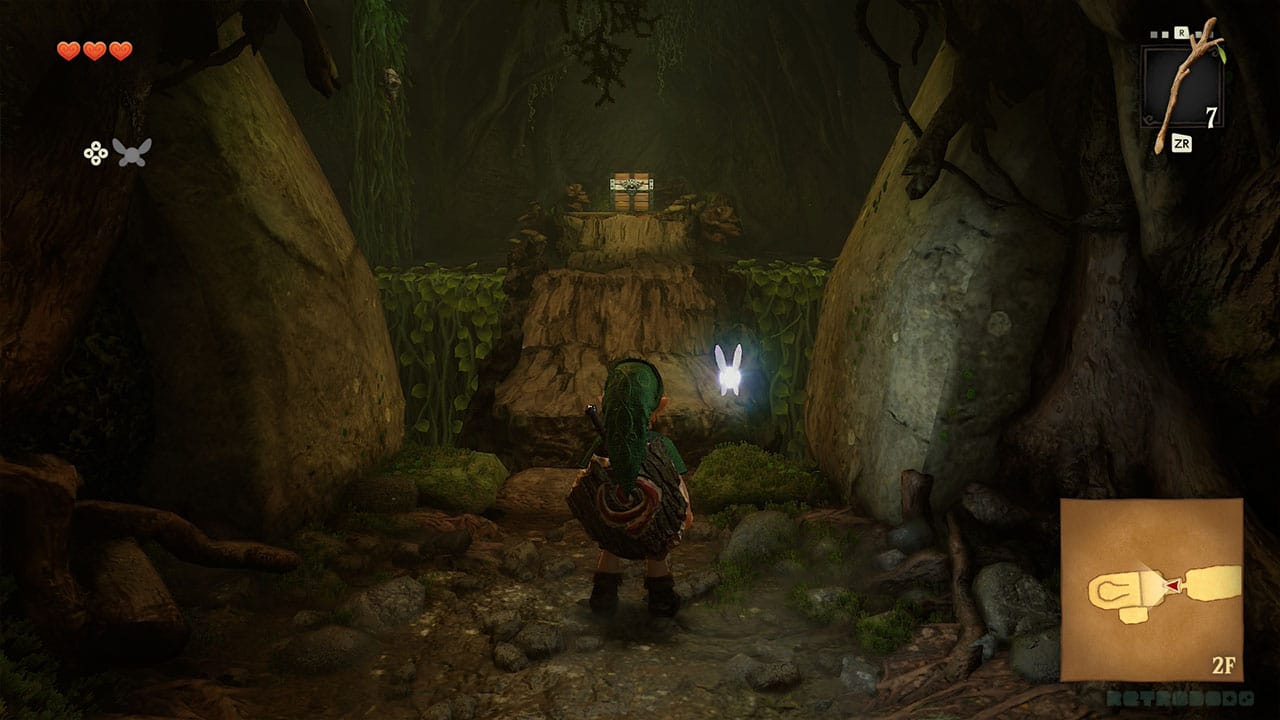
This is the first major change in the dungeon. In the old game, you would go into the slingshot room, jump onto a floating platform, and then run-jump off the other side onto a platform with a chest on it. In this new game, the floating platform has been replaced with a temporary walkway that gives way under your feet. When you hit the floor, you'll need to climb up the vines to get to the chest.
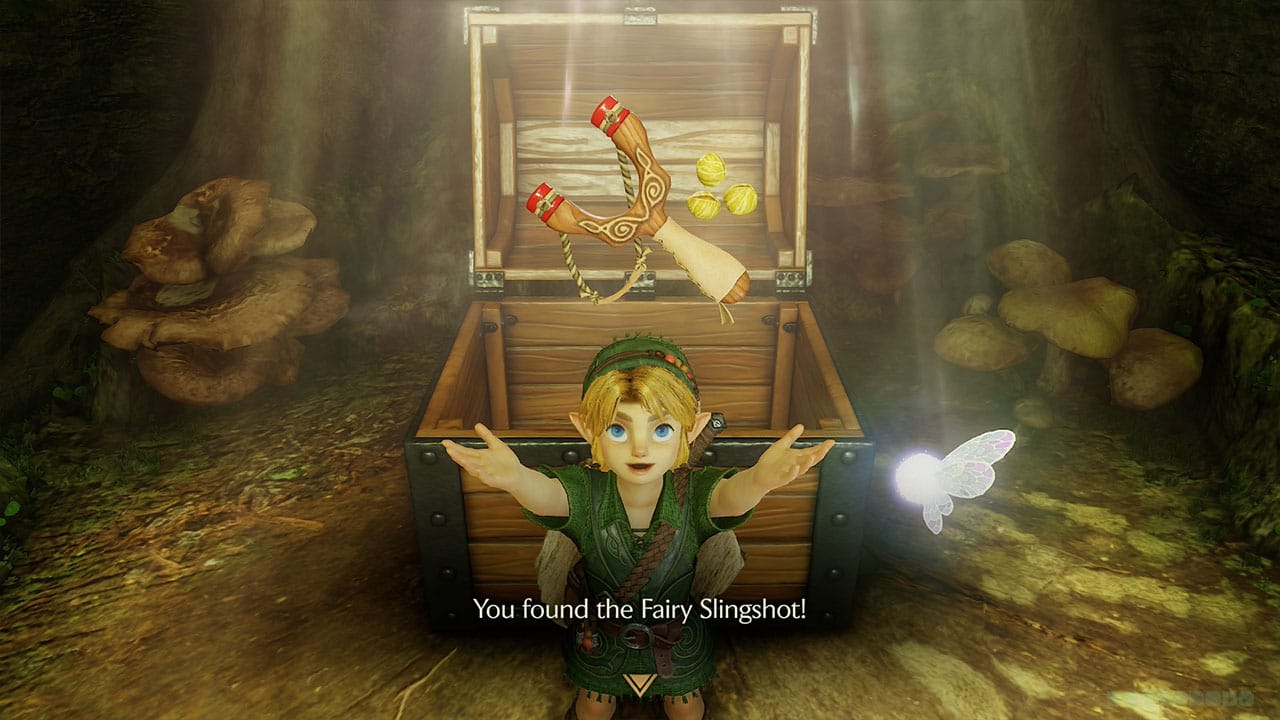
Open the chest, and you'll get the Fairy Slingshot. This slingshot fires Deku Seeds, and you'll need it to trigger switches and attack enemies on walls or who attack you from the air.
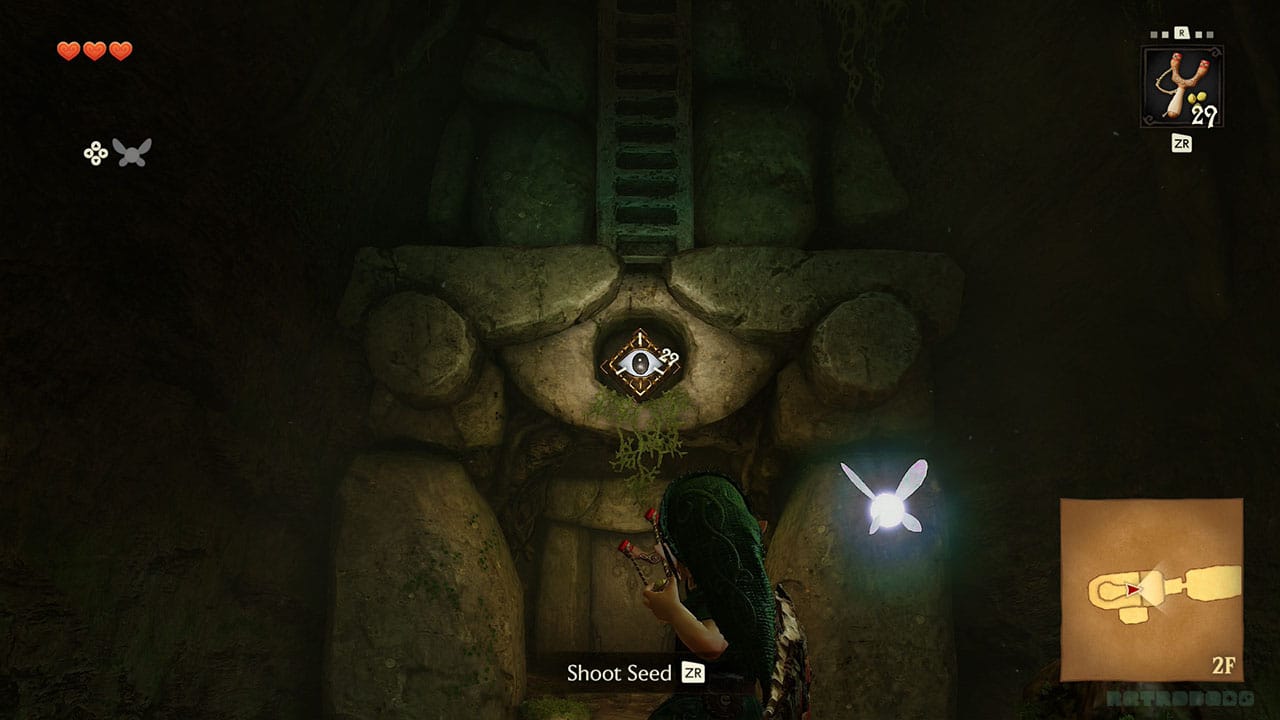
Turn around from the chest, and you'll see an eye switch on the wall in front of you. If you hit the eye switch, you'll release two stones, which allow a ladder to fall to the ground. Again, if you played the old game, this is a new feature that's a bit more exciting than just hitting a ladder with a Deku Seed.
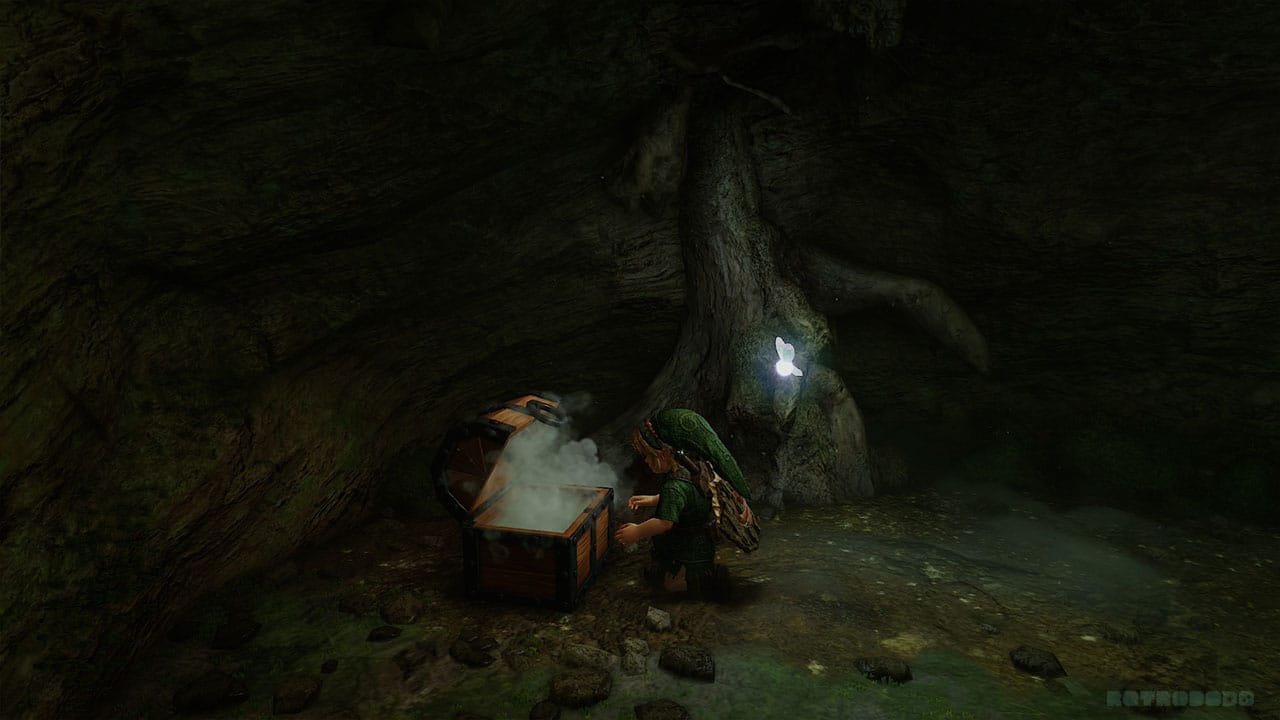
Before you leave, there's a patch of vines to the right of the chest platform that has a smaller chest at the top of it. You'll find some Deku Nuts inside, which will be helpful for some of the enemies you'll face in the rest of the dungeon. Leave the room and head back to the chest that you got the Dungeon Map from - it's time to take out some Skullwalltulas.
N.B. - You can hold R to switch between weapons quickly.
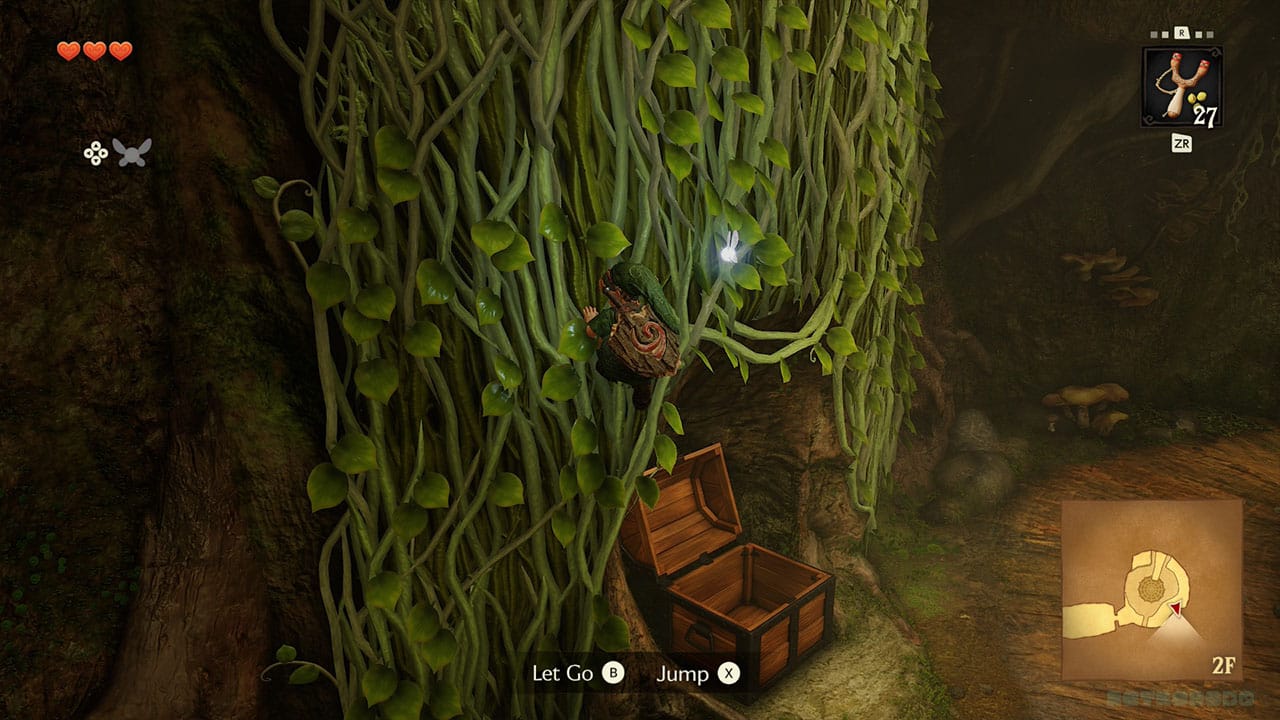
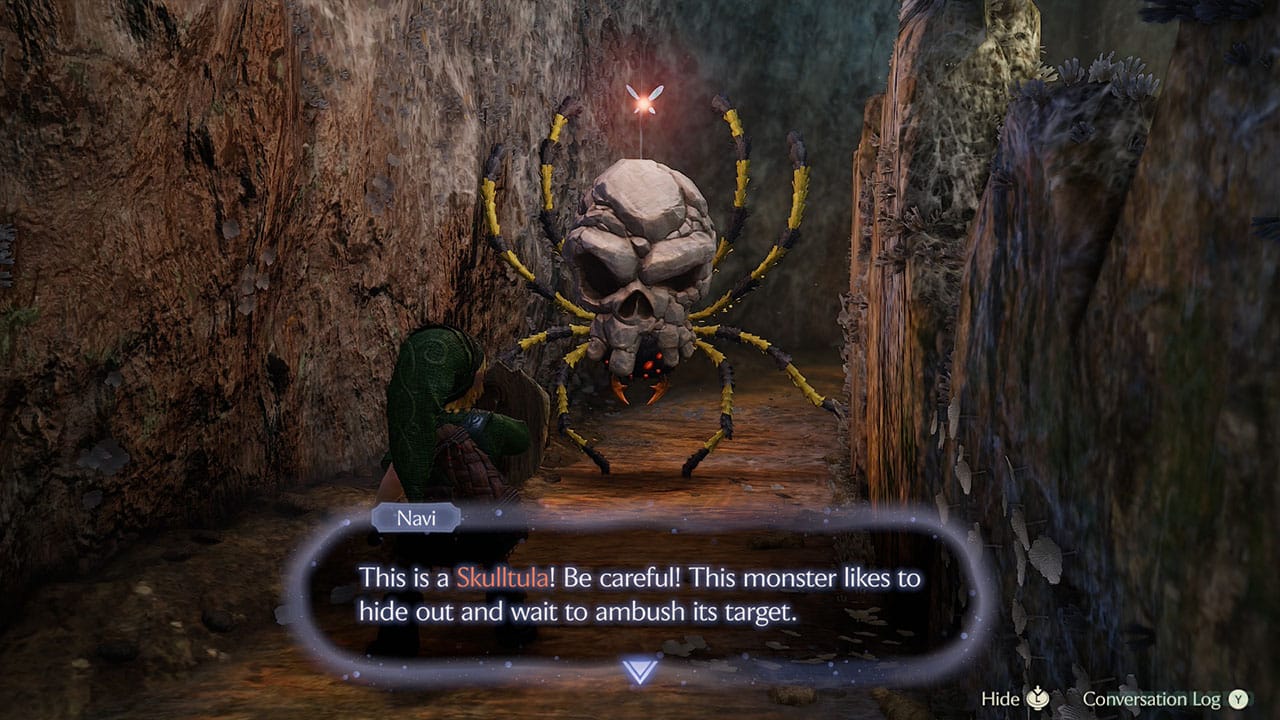
If you ZL-target the Skullwalltulas, you'll be able to pick them off very easily with the slingshot. Climb up the vines (only when you've got rid of the spiders), and make your way to the top floor. Here, you'll find your first Skulltula.
Historically, you had to wait for Skulltulas to spin around and show you their soft underbellies. Now, you have to hit them once to make them turn around, and then you can hit them, or you can chance it as they spin around. It takes a couple of slashes on their underbellies to destroy them. If you're scared of spiders, then you might want to squint while doing these, as they look super real now, and their legs curl up like real spiders when they die too! Once defeated, head through the door to the next room.
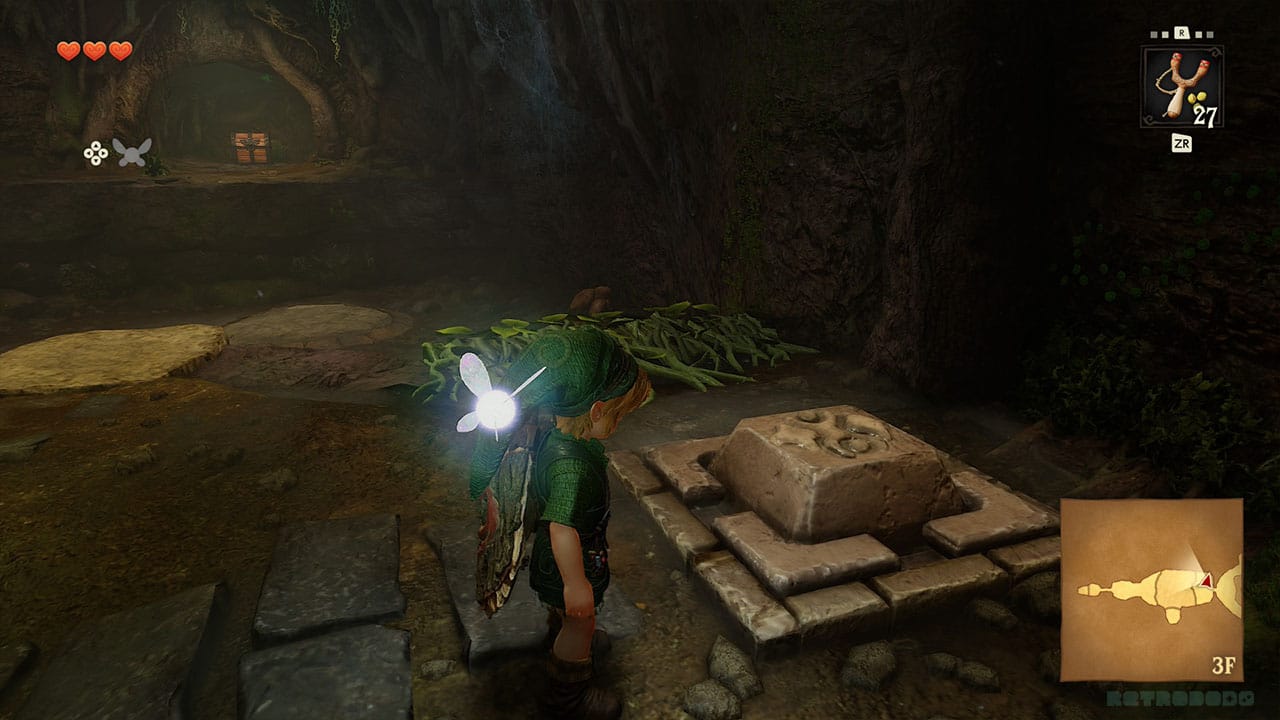
Here's your second puzzle. Stepping on the switch in front of you makes three platforms rise into the air. Jump all the way to the other side, and you'll find another large chest. This is where you'll get the Compass, a dungeon item that lets you see which chests you've still got to find inside the dungeon. There's a Deku Baba to the side of the chest, so watch out for it when you land.
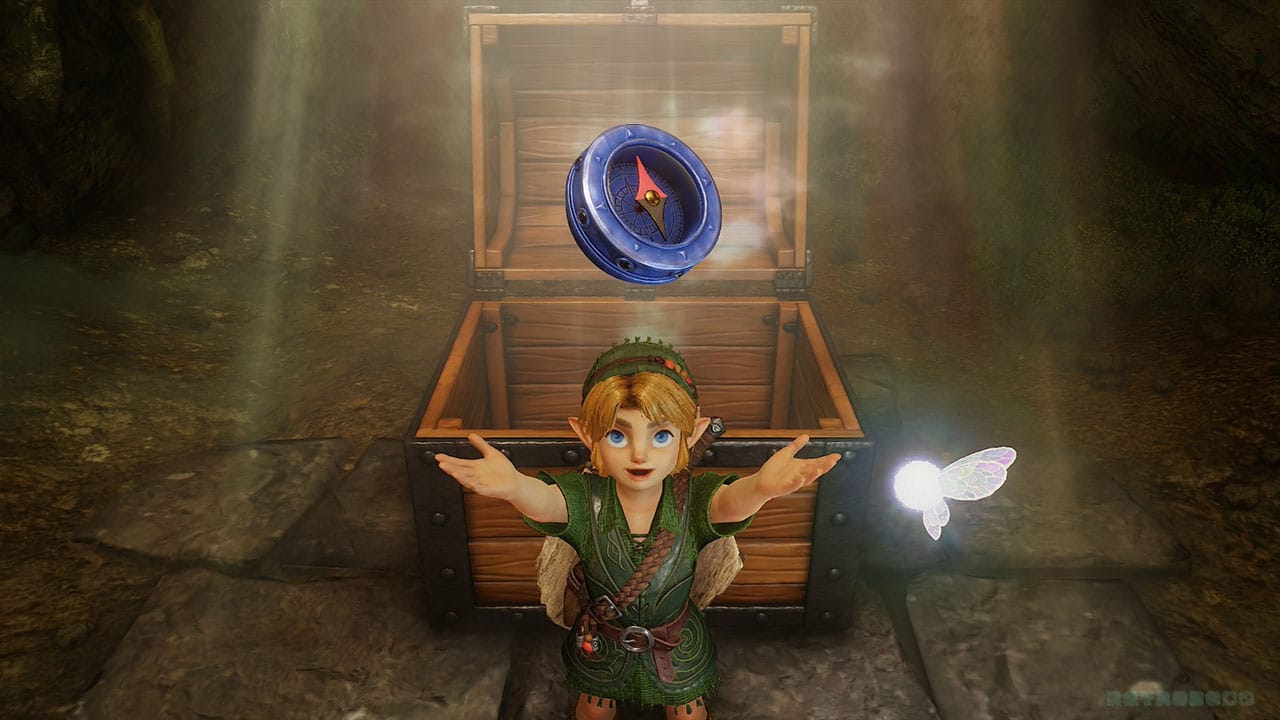
Jump down and head back to the platform where you came in. You'll have to kill a Deku Baba before you can climb back up the right-hand side, so head to the left-hand side if you don't want to mess around fighting another angry critter. You don't need to light a torch to leave this room in the new version of the game; you're free to leave straight away.
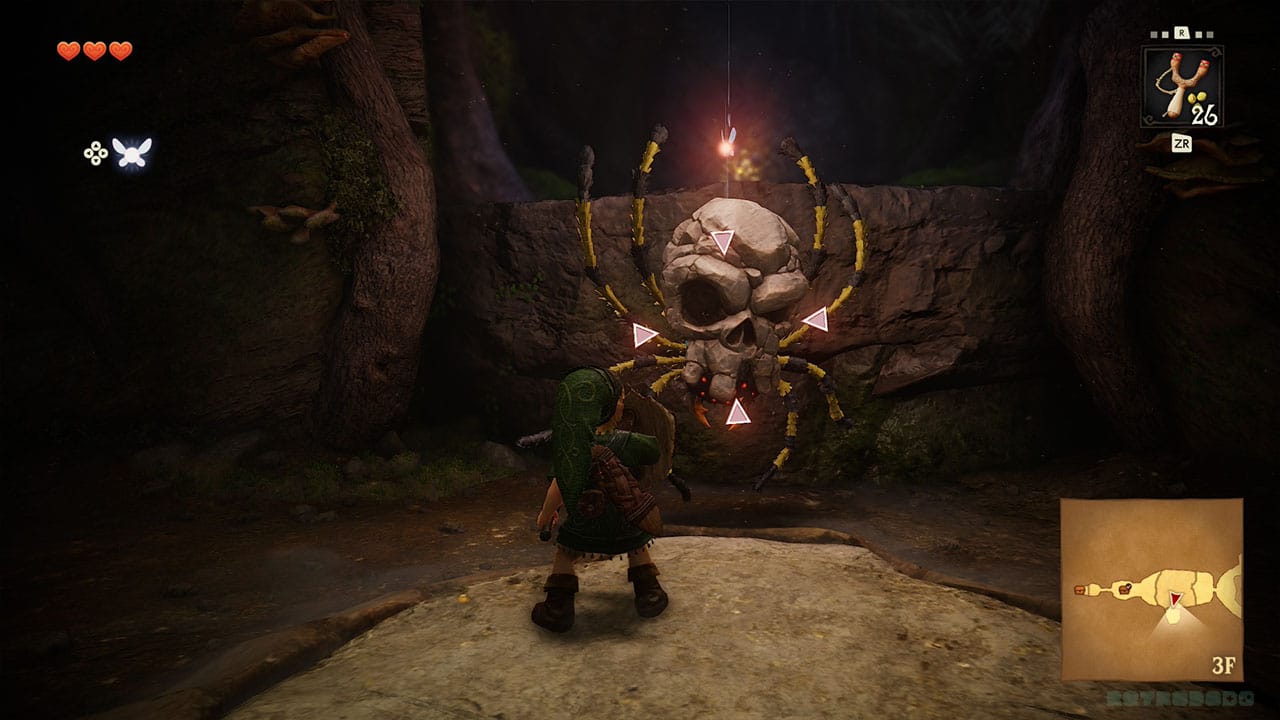
There is no longer another chest in this room, but there is a Golden Skulltula. You'll need to stand on the switch again to bring the platforms back up. This time, instead of jumping all the way to the other side, you'll need to head to the left. There's another Skulltula here which you'll need to defeat, and behind it is a Golden Skulltula.
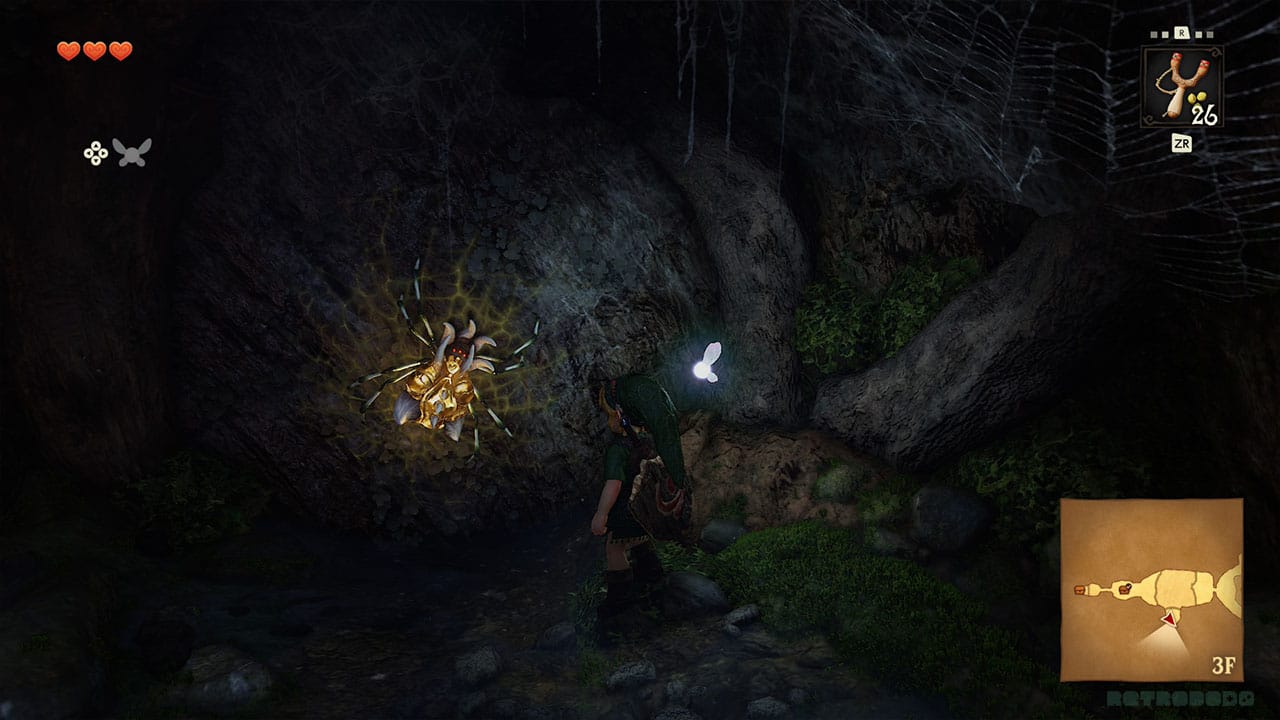
Golden Skulltulas don't attack you, but you'll need to defeat them to collect the Golden Skulltula tokens they leave behind, accompanied by an ethereal glowing sound. You'll find out why when you get to Kakariko Village later in the game, and I can't wait to see how terrifying the house in which you use them is going to look in this new version of Ocarina of Time.
Head back out onto the landing,
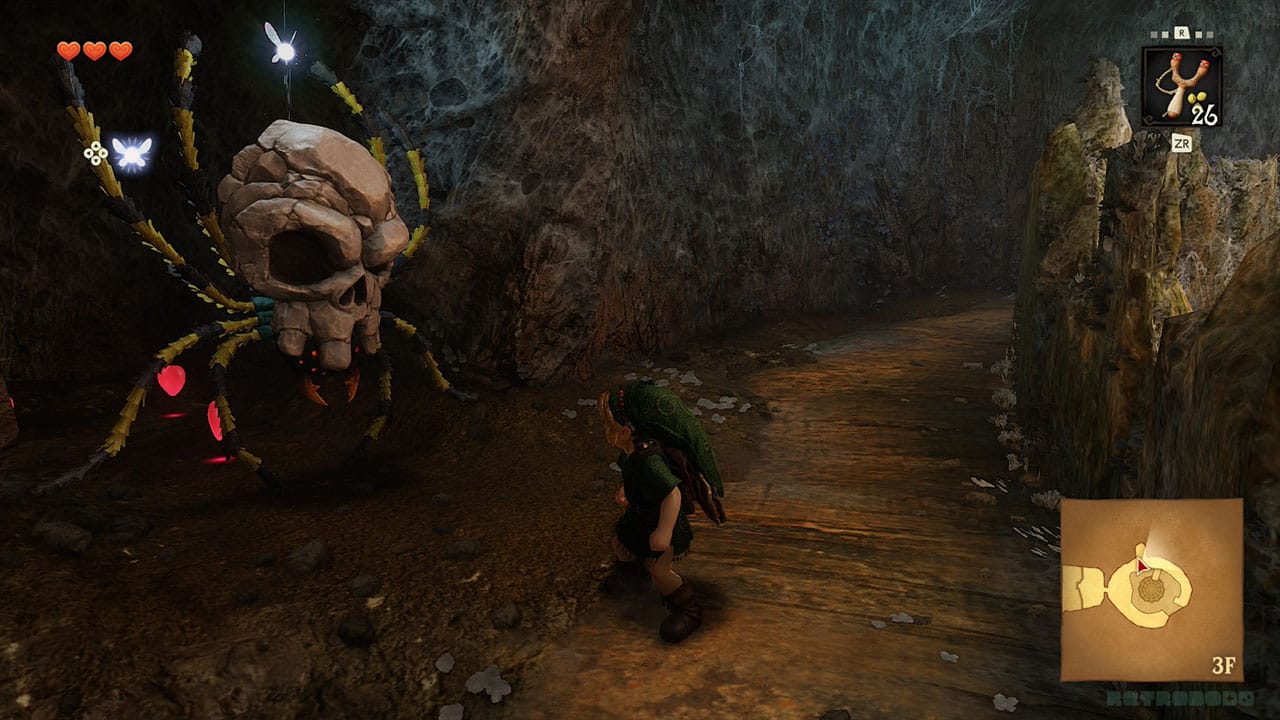
In the previous game, you had the option to defeat one of three Skulltulas before jumping down through the web. Now, you have to defeat three as you move your way to the very top of a path that you can jump off. Behind the second Skulltula are hearts that you can use to refill your health, and the third one is guarding the end of the platform. You'll get a green rupee when you defeat it - hardly a fit reward, is it?
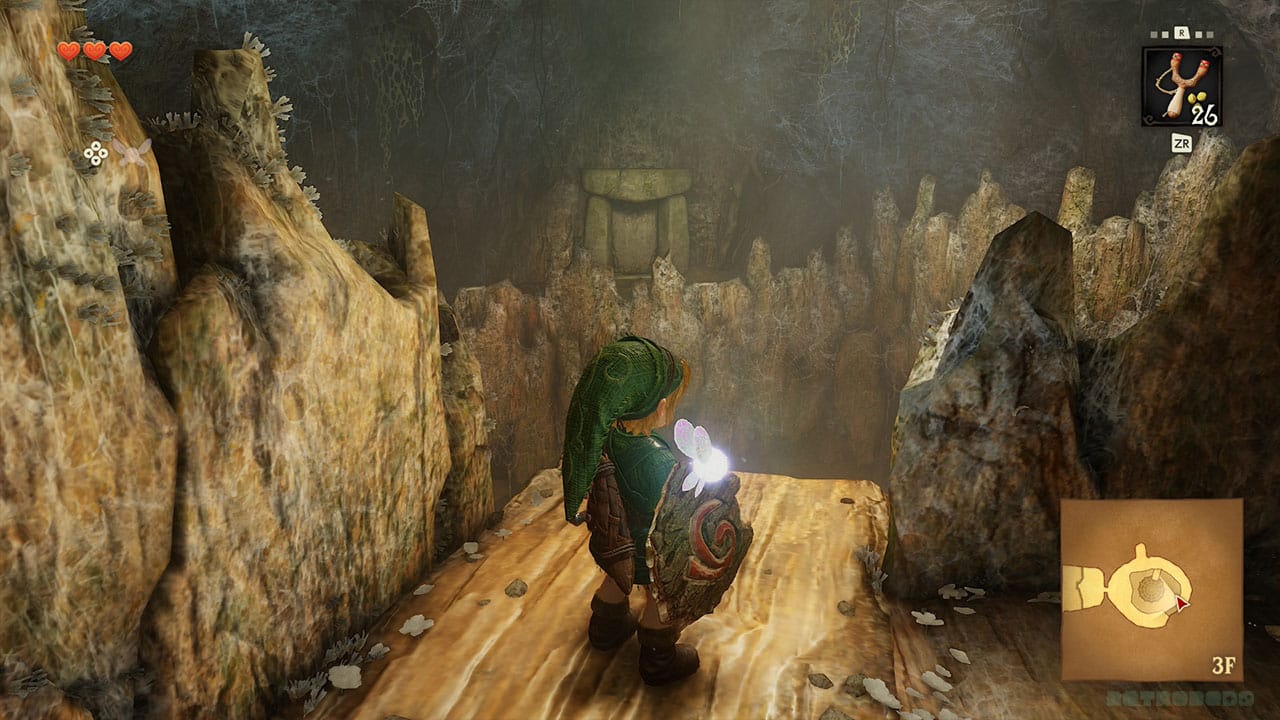
Run off the platform and jump all the way to the bottom, smashing through the web in the floor that you saw when you first entered the Deku Tree. You'll land in some water at the bottom.
The Basement Level
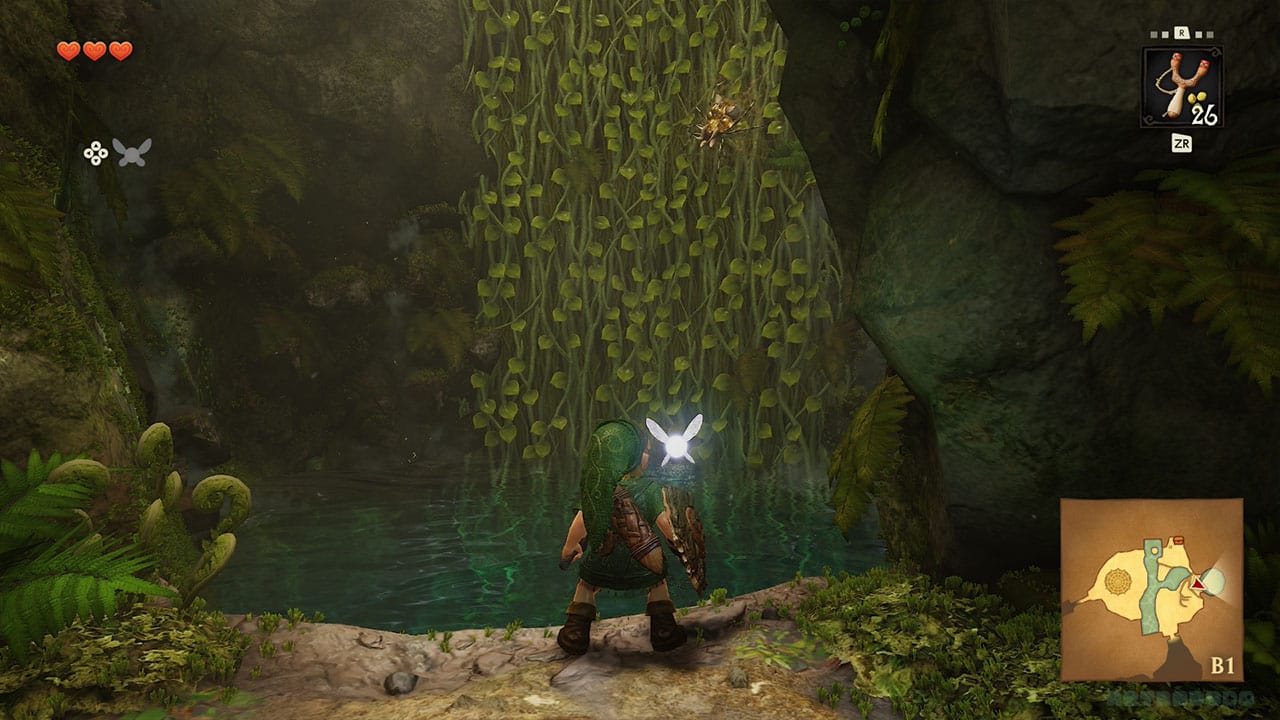
The lower level of the dungeon has changed a little from the previous game, so you're not going to be able to rely fully on nostalgia here if you played it the first time around.
As soon as you land, you'll hear some scuttling noises. Turn around to find another Golden skulltula on the vines behind you. Hit it with your Fairy slingshot and then climb back up to get it. That's two you should have now.
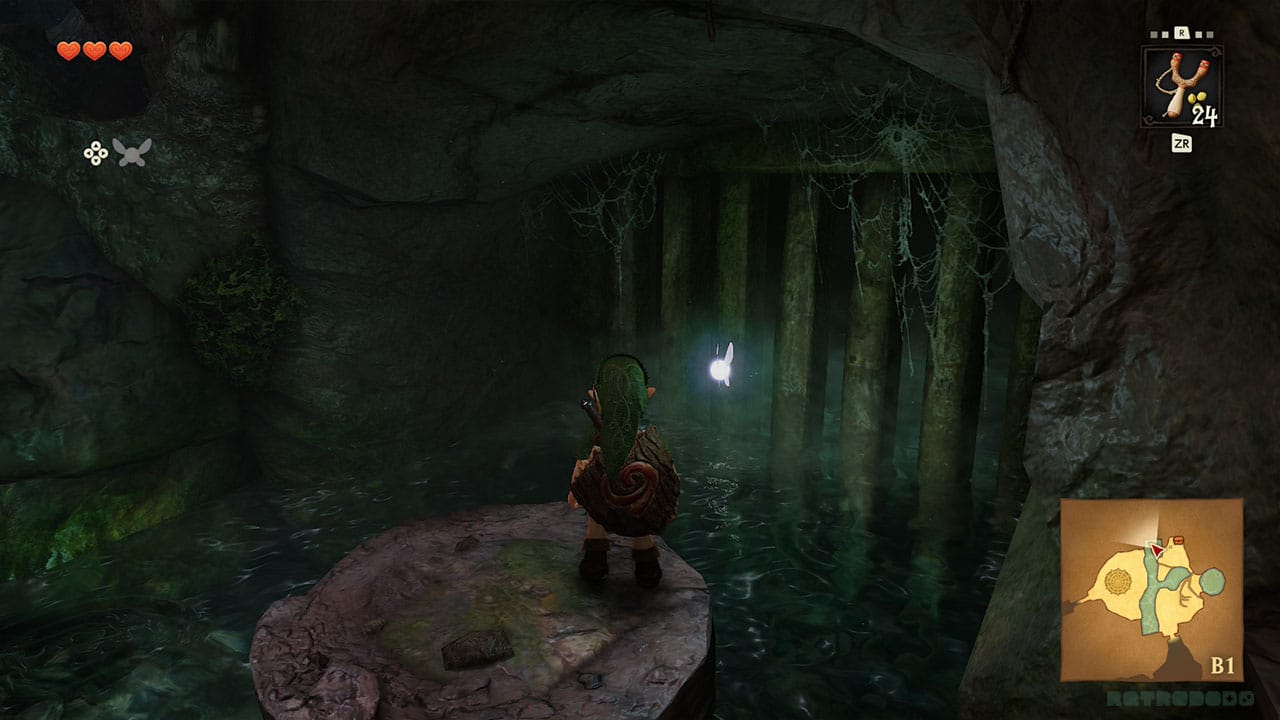
Jump down the steps, and take a look at your surroundings. There's an iron grate to your right which has another Golden Skulltula hiding on it. Attack it with the slingshot, then grab the token by jumping off the ledge. That makes 3 so far! When you've got the token, head back up onto the nearest ledge. You'll see a big web with a chest behind it, an unlit torch, and a switch. Stand on the switch, and the torch will light.
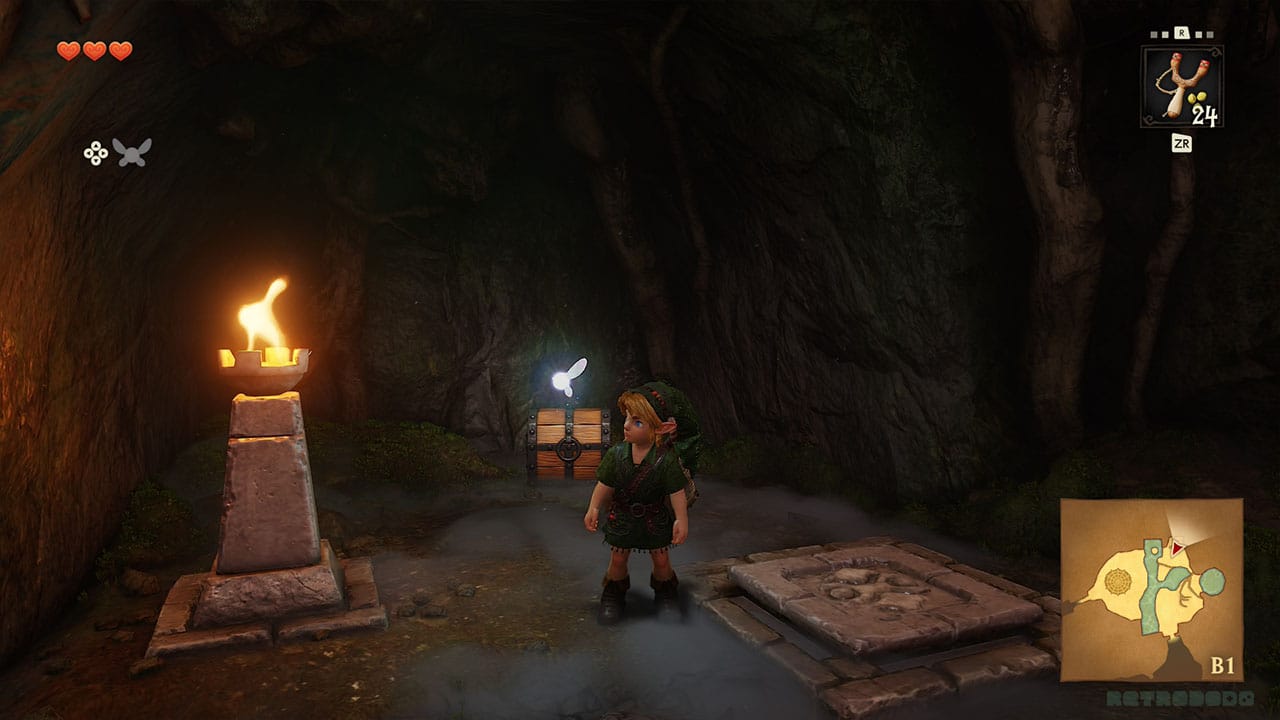
When flames come out of the torch, they'll burn the web and allow you to get to the chest behind it. You'll get a Deku Stick, but you should have plenty of those already. Use your Deku Stick to create a torch that you can use to light webs and burn them. You'll need to be careful where you step and jump, as if you land in water, the torch will go out. You don't need to do anything other than run into the web to burn it. There's only one web you can burn at this point, revealing a door behind it. Watch out for the Deku Baba!
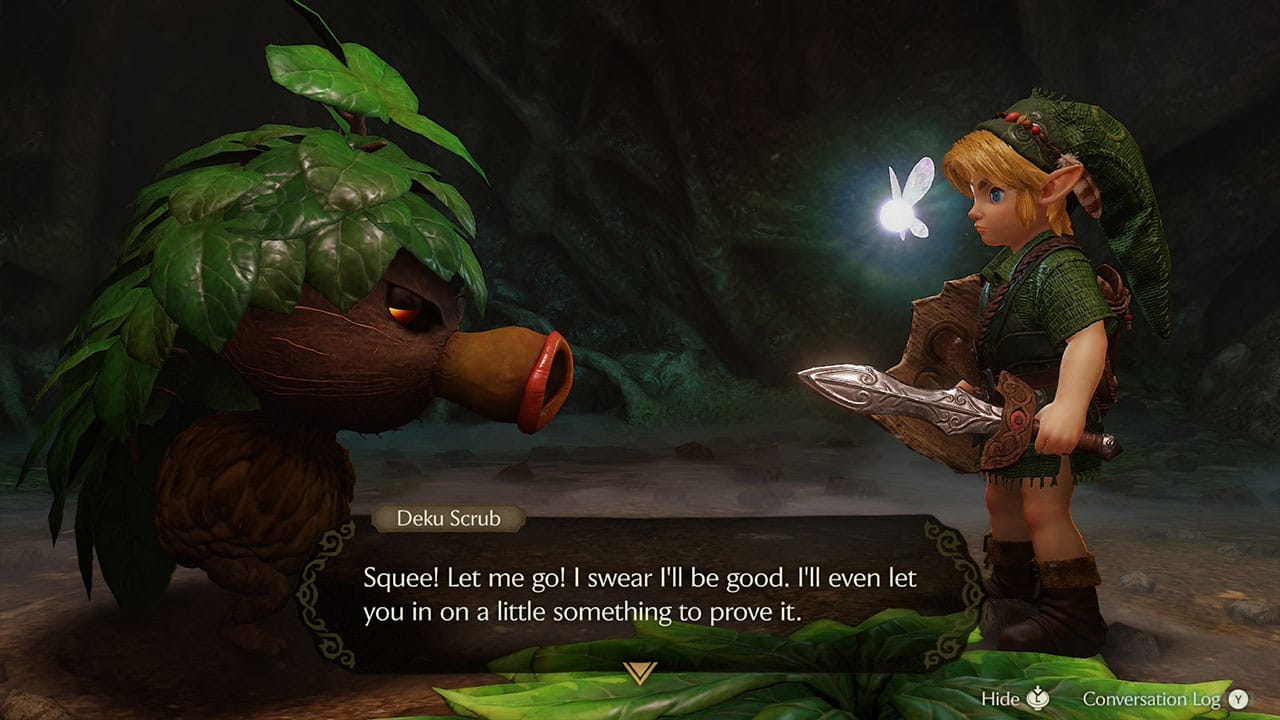
There's another Deku Scrub to attack here. Do the same thing as before, deflecting its Deku Nut back at it. It will tell you a code: '2,3,1'. Remember it. It'll scurry off and leave a single Rupee (cheapskate). Then, pull out the Fairy Slingshot and hit the eye switch above the remaining door. The bars will head up. Go through the door.
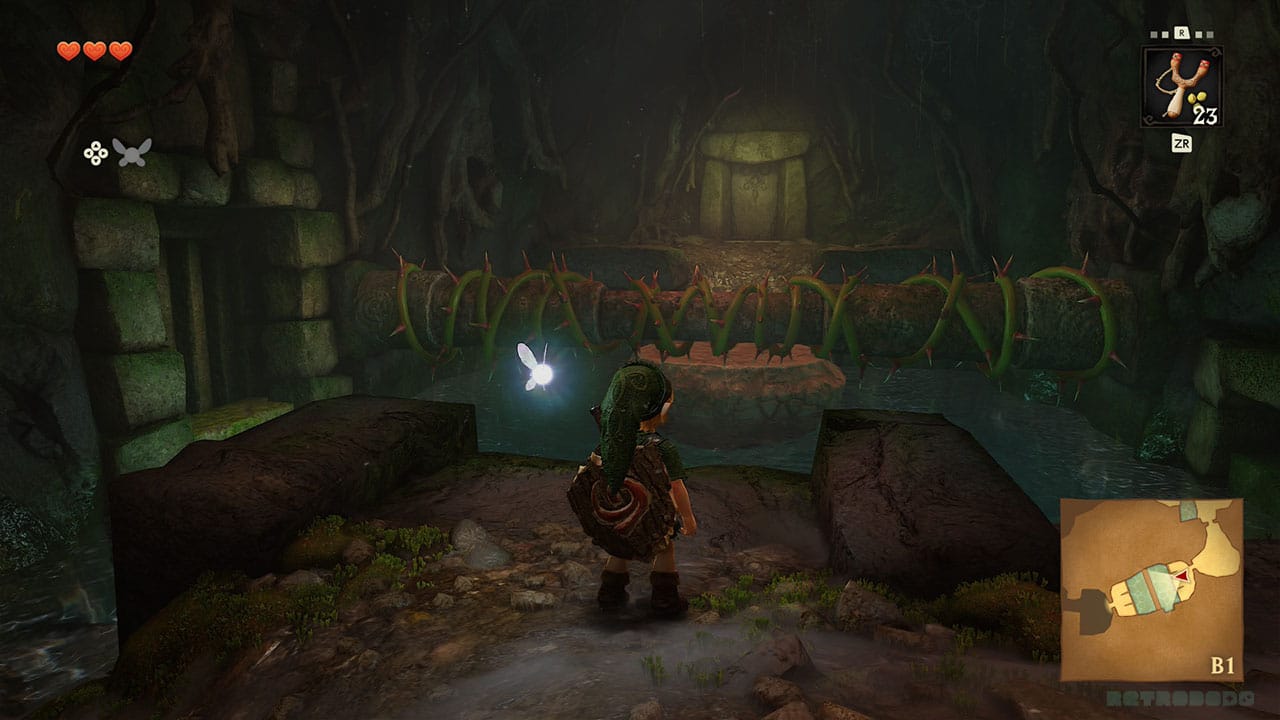
The next room has water in it, a moving platform, and a spinning bar with thorns on it. It used to be spikes, but it looks way cooler now. The first thing you need to do is to go into the water and dive to press a switch on the left hand side of the room. This raises a block and reveals a grate, lowering the water level and allowing you to pass underneath the bar.
Return to the door that you came in through by running up a ramp. You'll need to do the next bit quickly as the water will rise again after a short time. Jump onto the moving platform using X, pass underneath the spinning bar, and jump onto the next platform.
Another change here - there used to be another Skulltula to defeat here and a block that you had to push along the floor to allow you to reach a door on a ledge above. Now, there's just a door that you can go through.
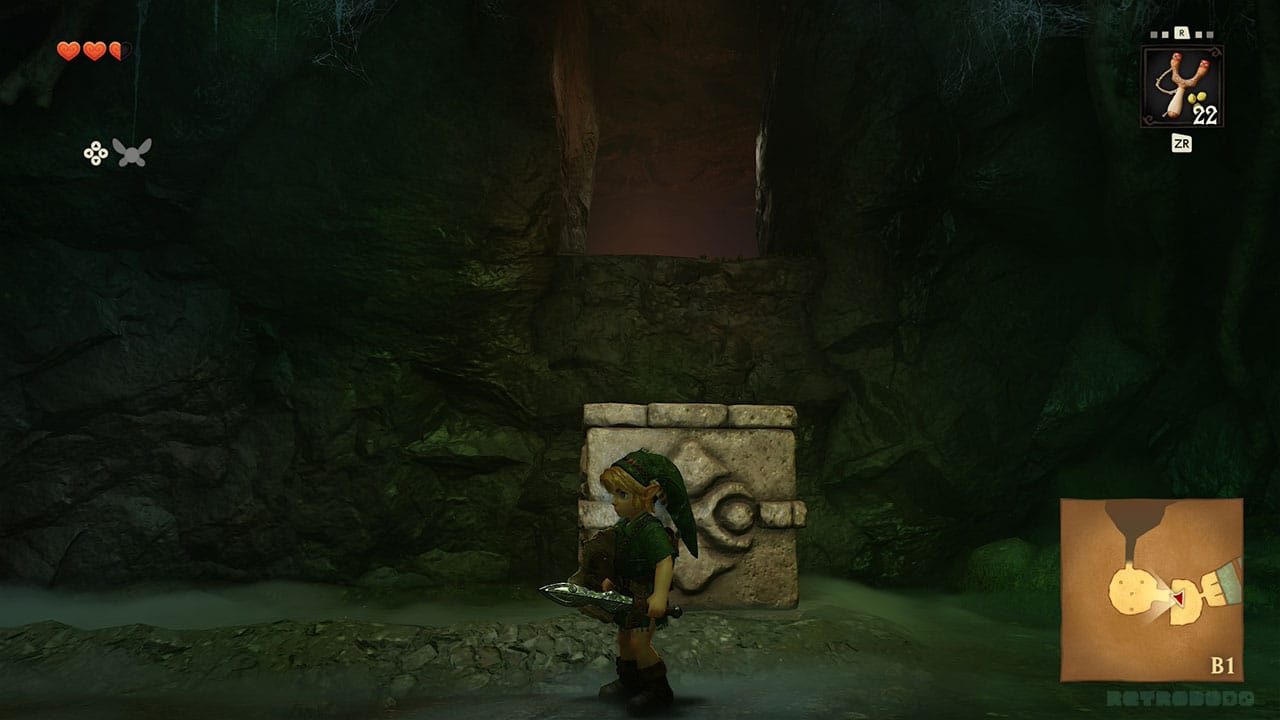
Nintendo, you sneaky tykes - the Skulltula and block problem is in the next room. You'll need to defeat the Skulltula in the same fashion, and then push the block over as far as it will go so that you can climb up and onto the walkway above. To climb up onto the block and the ledge above, you just need to walk towards both, and Link will climb automatically.
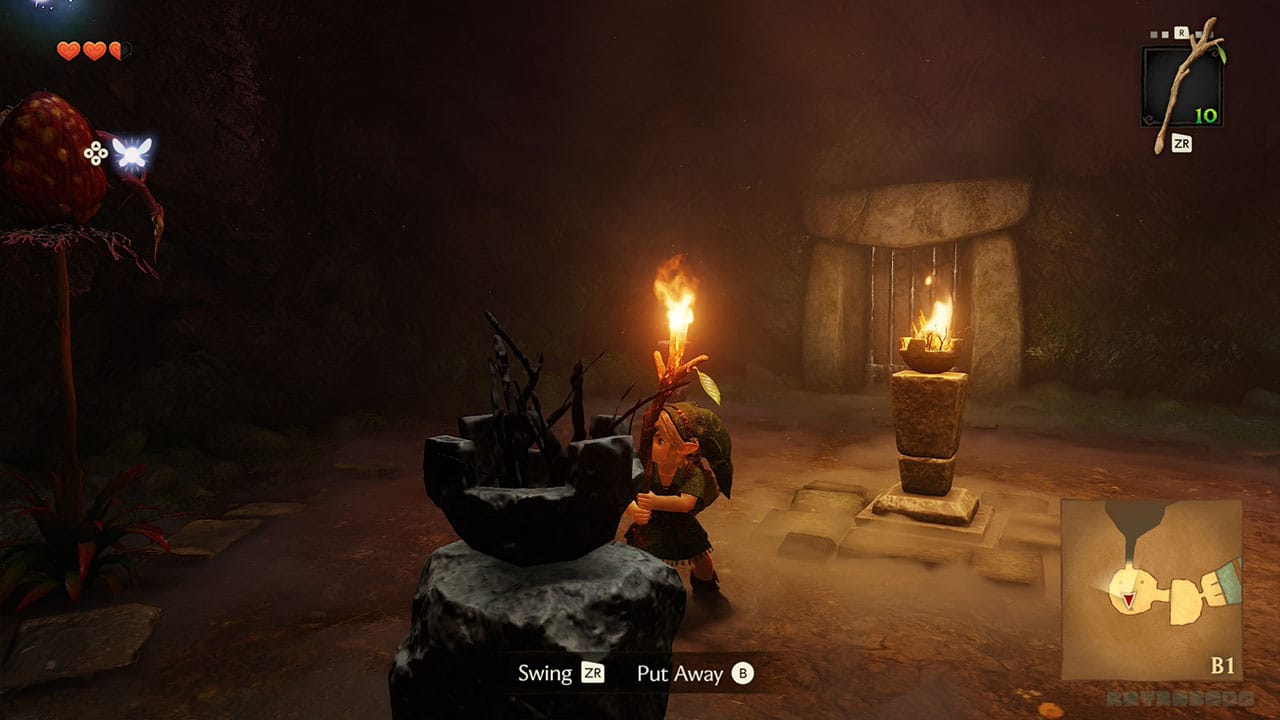
The next chamber has a Deku Baba, a stone torch that's lit, three unlit torches, and a barred door.
First of all, defeat the Deku Baba. Then, get a Deku Stick and light the torches. If you accidentally get Deku Nuts from the Baba, there are a couple of the strange red Deku Babas that you can only get sticks from.
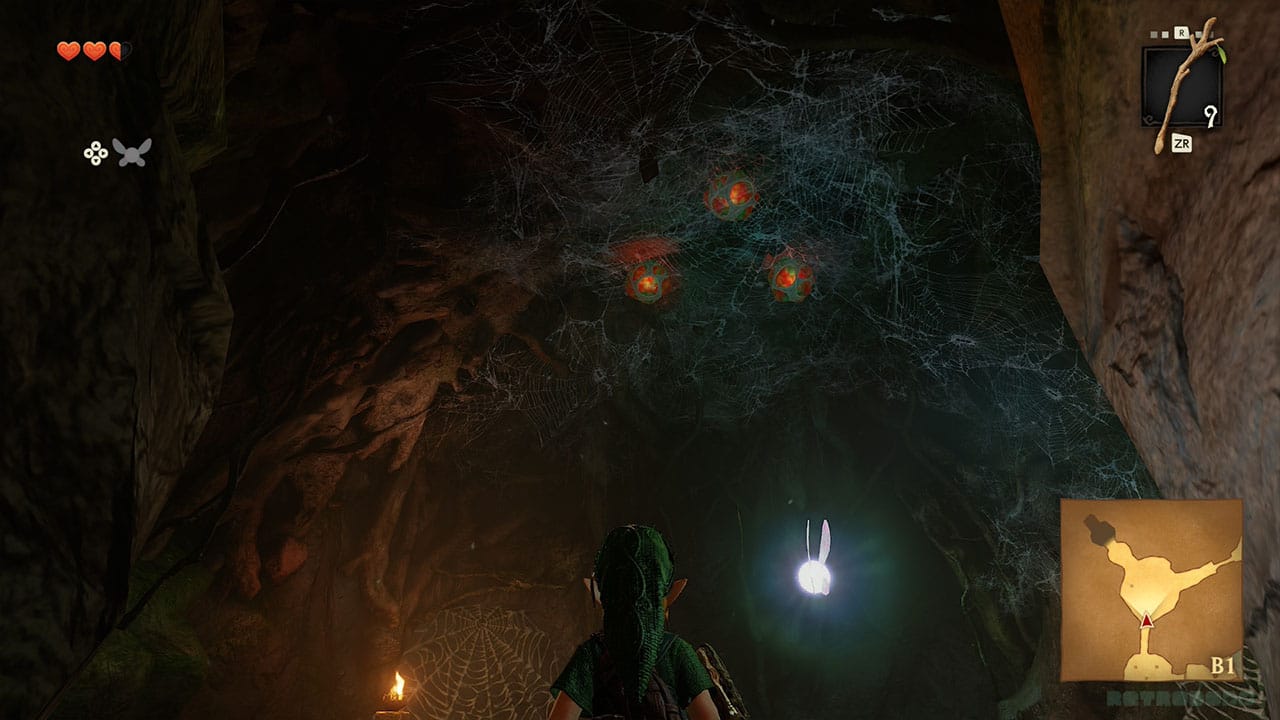
Once the torches are lit, the door will open. You'll need to be quick, as you only have a couple of seconds to light them all. In the next room, there's a Skulltula to defeat, and then you'll come across some Gohma Larva. They're annoying little spider creatures that play a part in the boss battle for this dungeon, so get used to dispatching them. It has a blue eye, but it turns red when it's going to pounce at you, so defend and dodge before you attack when it's pouncing.
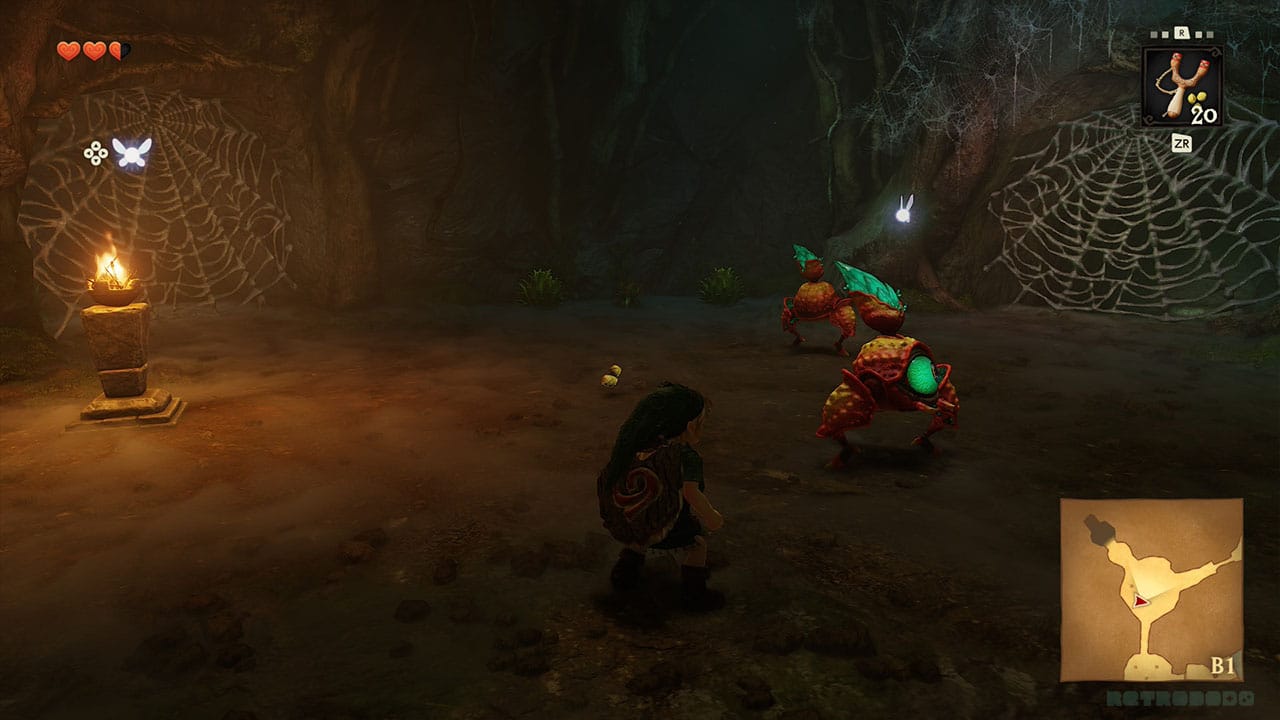
NB - You can just use your fairy slingshot to get rid of them before they land.
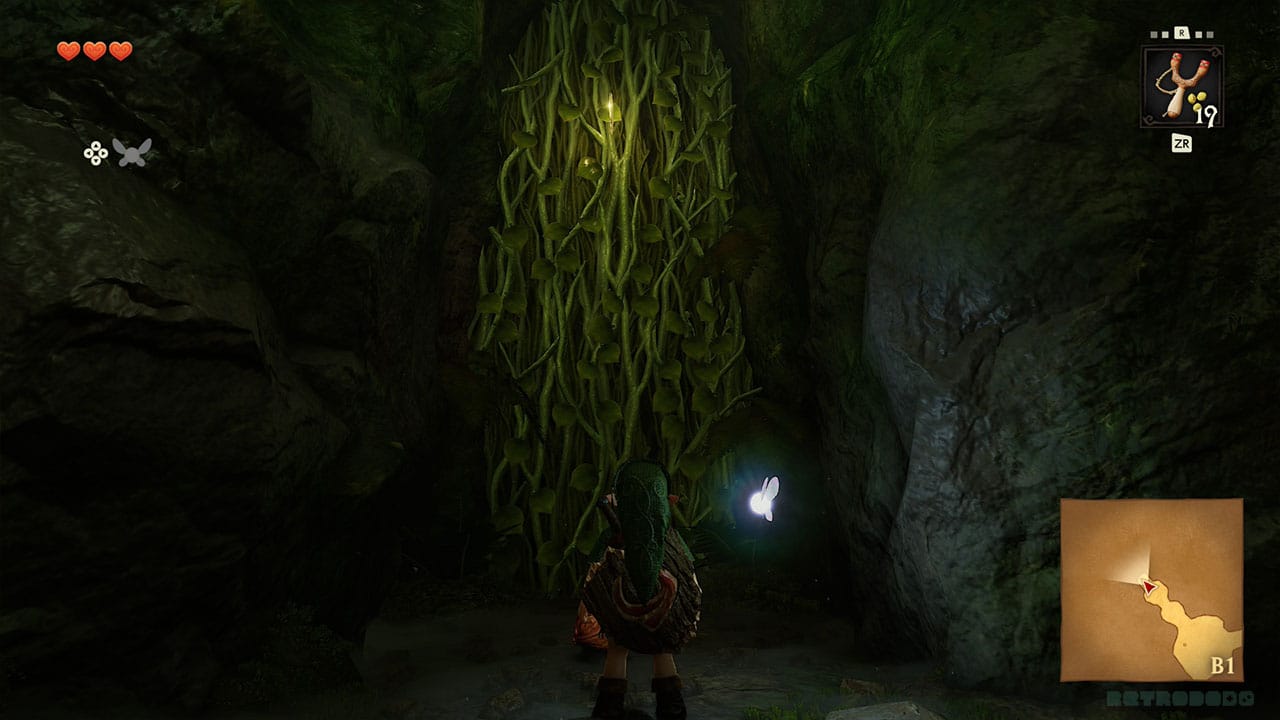
There are two webs here; one leads to another Deku Baba and your fourth Golden Skulltula. Go slowly, as there's a Skulltula that will drop down right before you get to the Golden Skulltula on the vines behind it.
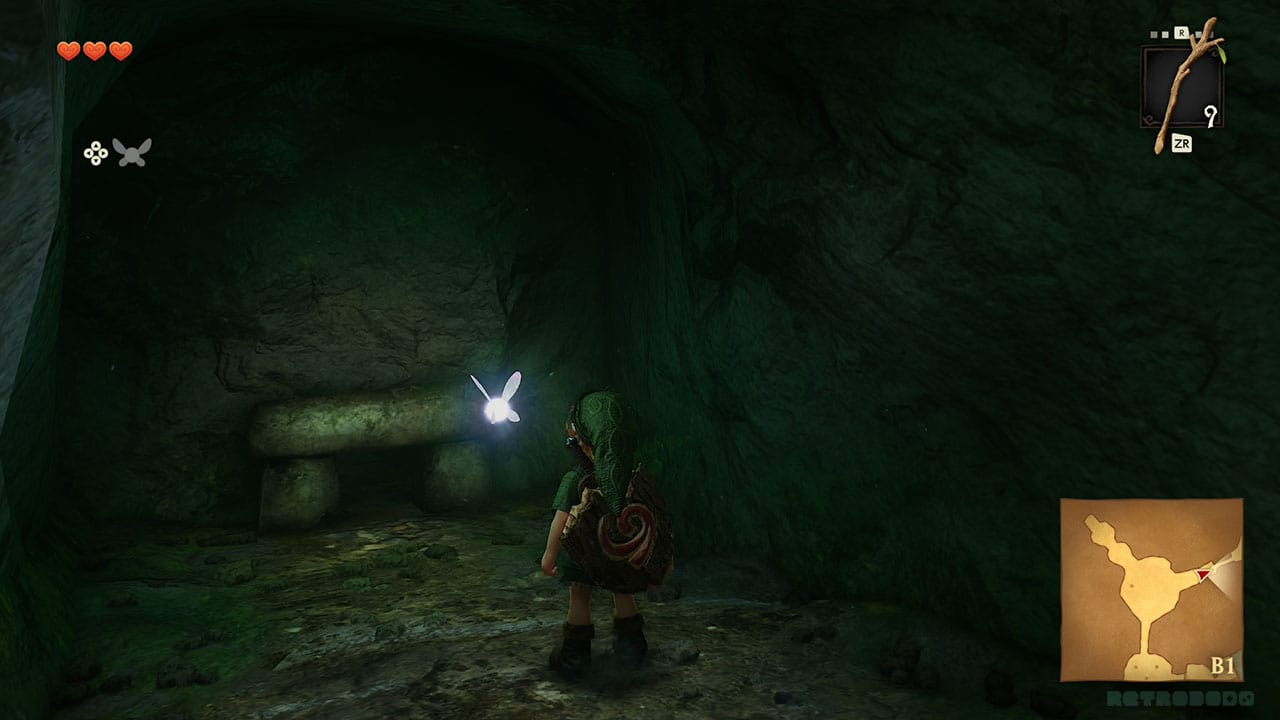
The other webbed passageway leads to a crawlspace that leads you back into the room that you fell down into. That's where you need to head next. Once through the Crawlspace, defeat the Deku Baba to get another Deku Stick if you don't have one.
You'll see that there aren't any torches that you can reach with your Deku Stick. You'll need to push the block down into the water to jump over to the torch that you lit when you were last in this room. Once you've lit a Deku Stick, jump back onto this block, and head over to the web in the centre of the floor. Press ZR to swing the Deku Stick, and Link will set fire to the web. You'll fall through into yet another pool of water, this time with more hearts to fill back up your health bar.
Entering The Boss' Lair
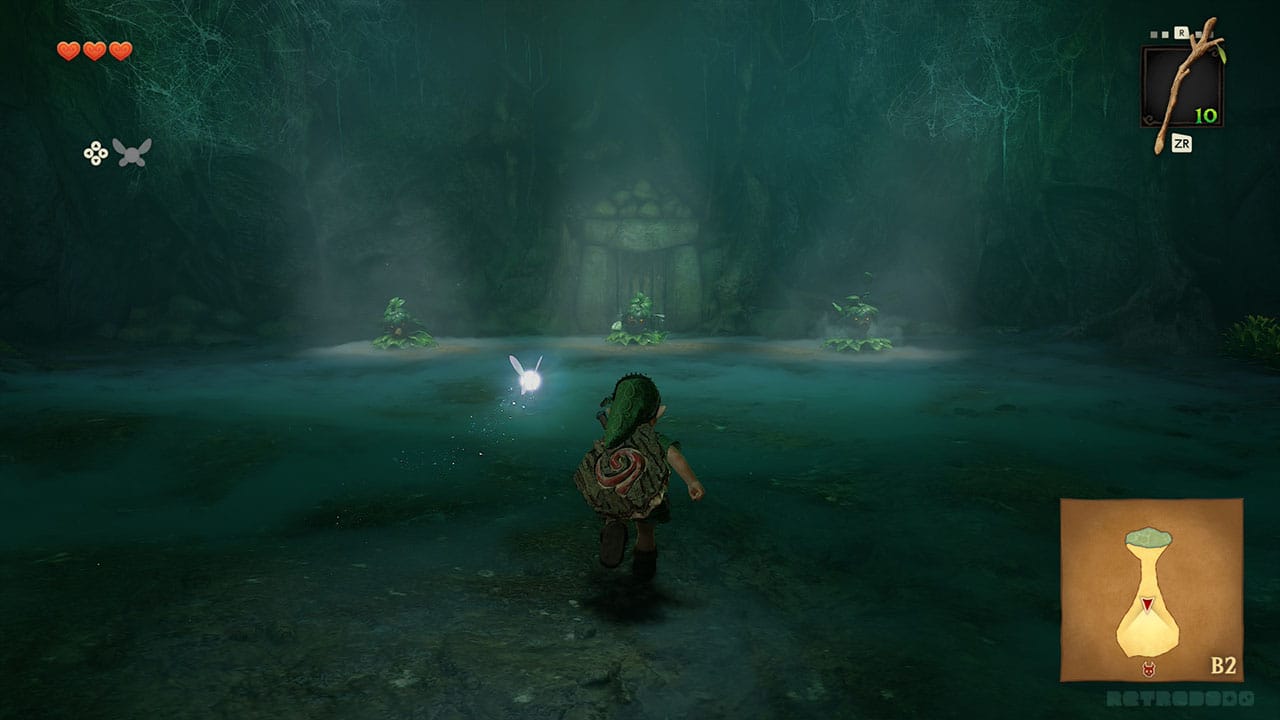
This is where you'll need that code I told you to remember. There are three Deku Scrubs guarding a locked door. Remember '2,3,1'?
That's the order you'll need to deflect their shots back at them in order to progress. The second and third Deku Scrubs will become stunned, then once you hit the 1st Deku Scrub on the left, it'll run out of its hole and dance around. You'll need to corner it so that it gives you the secret to defeating the Dungeon's Boss. To defeat Dread Gohma, you'll need to use your Fairy Slingshot to get a nut in her eye, and then strike her in the eye with your sword while she's stunned.
The Deku Scrubs have different dialogue from the previous game here too, which is interesting. They call Gohma 'Dread Gohma' instead of their Queen. The scrub doesn't seem too bothered about letting you know how to defeat his boss either!
The doors open when the Deku Scrub departs, and you enter the boss dungeon.
Defeating Parasitic Armored Arachnid Gohma
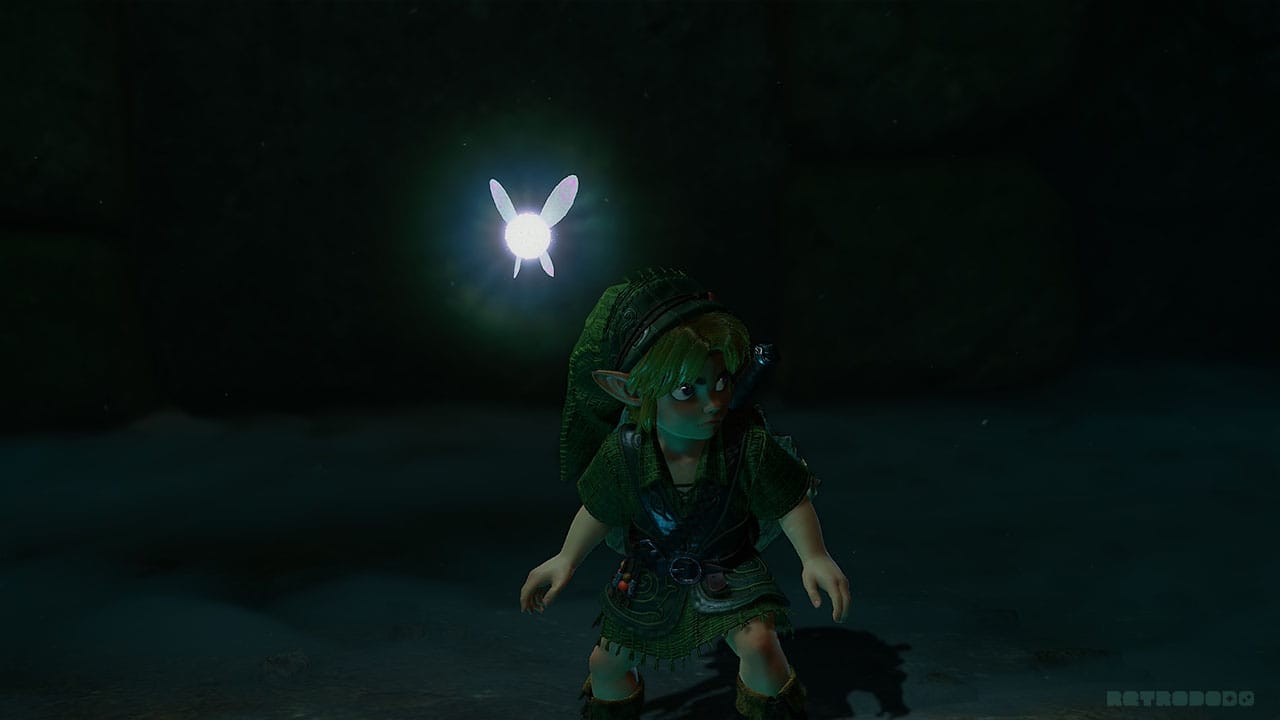
The entrance to the dungeon is new; you don't just walk into the dungeon room anymore. There's a passageway with torches on either side, giving an eerie feel of impending doom.
Oh, and webs... lots of webs.
As you enter the boss chamber, the door closes behind you and locks you inside. The boss battle will only start when you look up at Gohma. Her weird eye rolls around, and then she attacks.
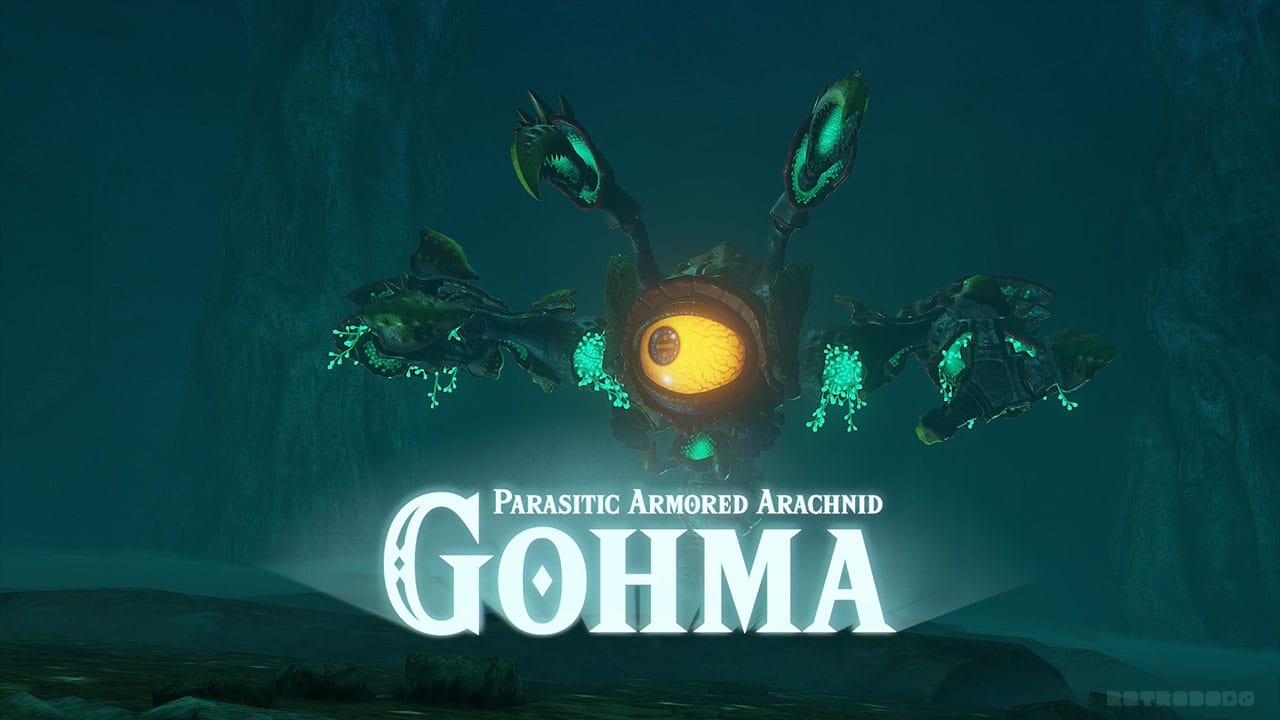
It's easy to defeat this boss; hit her in the eye with your slingshot, and then slice her eye with your sword. After the first time, Queen Gohma will head back up to the roof to spawn some Gohma Larva. You don't have to wait for her to head back to the floor again; you can hit her in the eye with your slingshot again, and she'll fall back down for you to slice again. Gohma will try to protect her eye with her pincers, but you can still get a shot in there easily when she removes them.
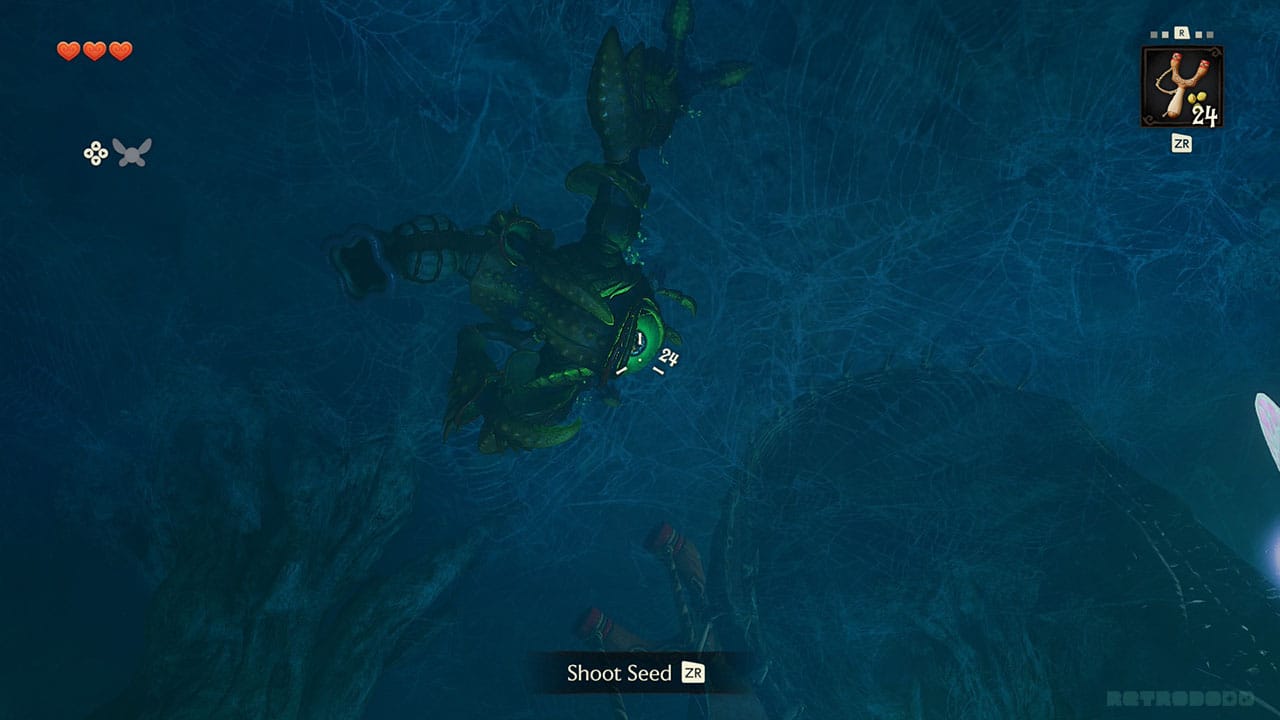
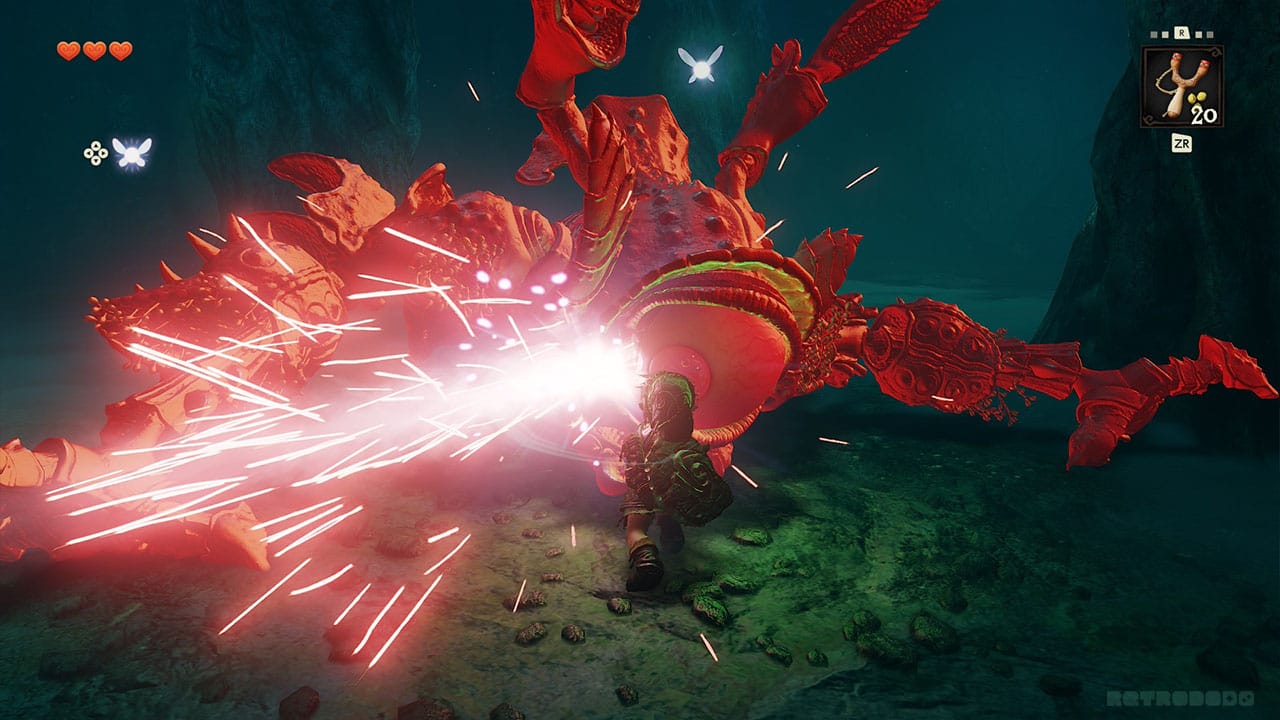
If you don't manage to hit her while she's on the roof, you can run to slice the larva pods before they hatch, triggering her to fall back down to the floor again.
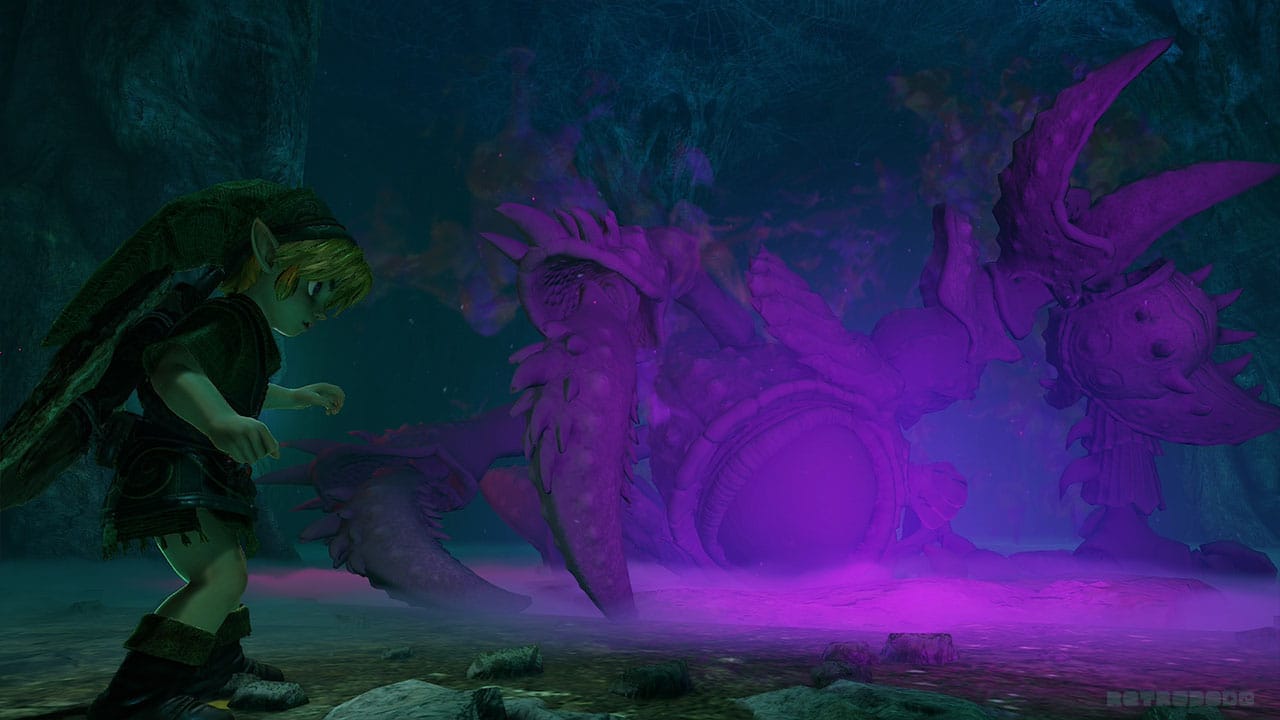
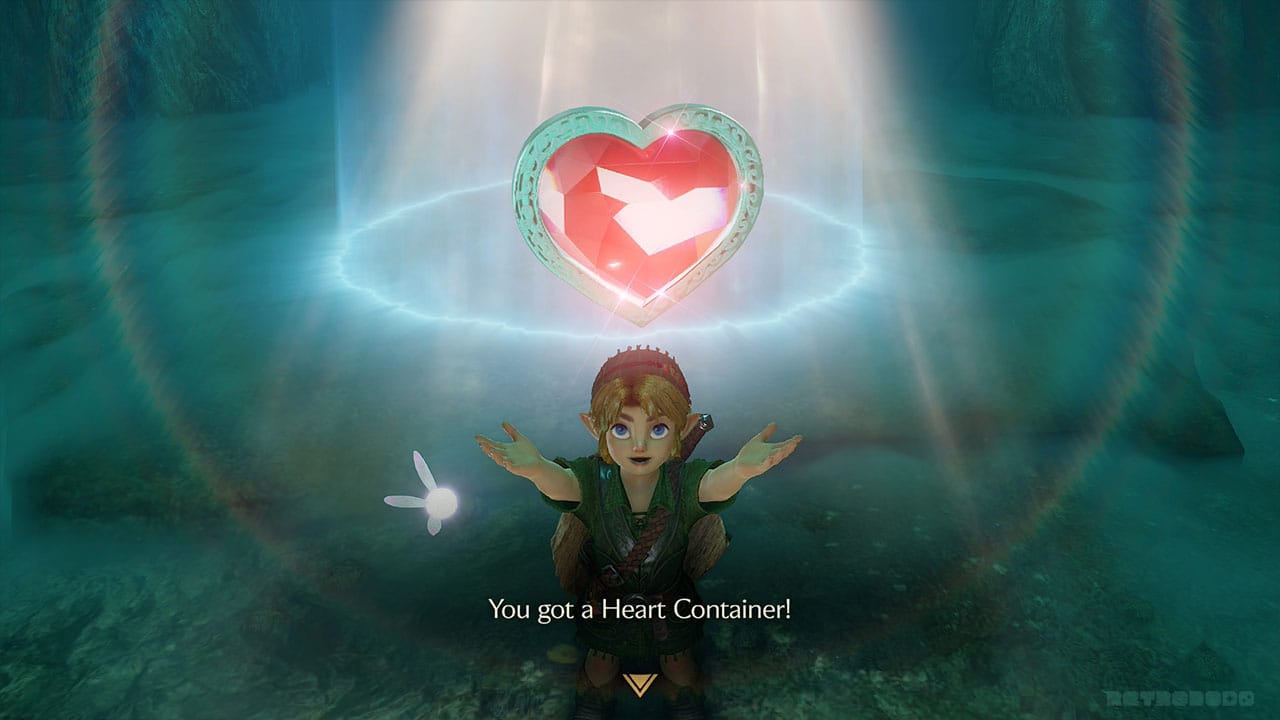
After three times, Queen Gohma is defeated. She lives behind a heart piece, just like every other boss in the game will do when you defeat them, increasing your heart health meter by one point. Once you pick up the heart, you'll see a blue light. Step into it, and return to the field outside the Great Deku Tree.
After The Battle
Once outside, the Deku Tree will give you a big spiel about how Hyrule came to be. Listen to this, as it's interesting and gives you more info about the backstory of Hyrule and Ganondorf. And even if you say you don't want to listen, the old codger makes you listen anyway. When he's finished and after you get the Kokiri Emerald, he passes, and you must leave Kokiri Forest and head for Hyrule Castle Town to find Princess Zelda.
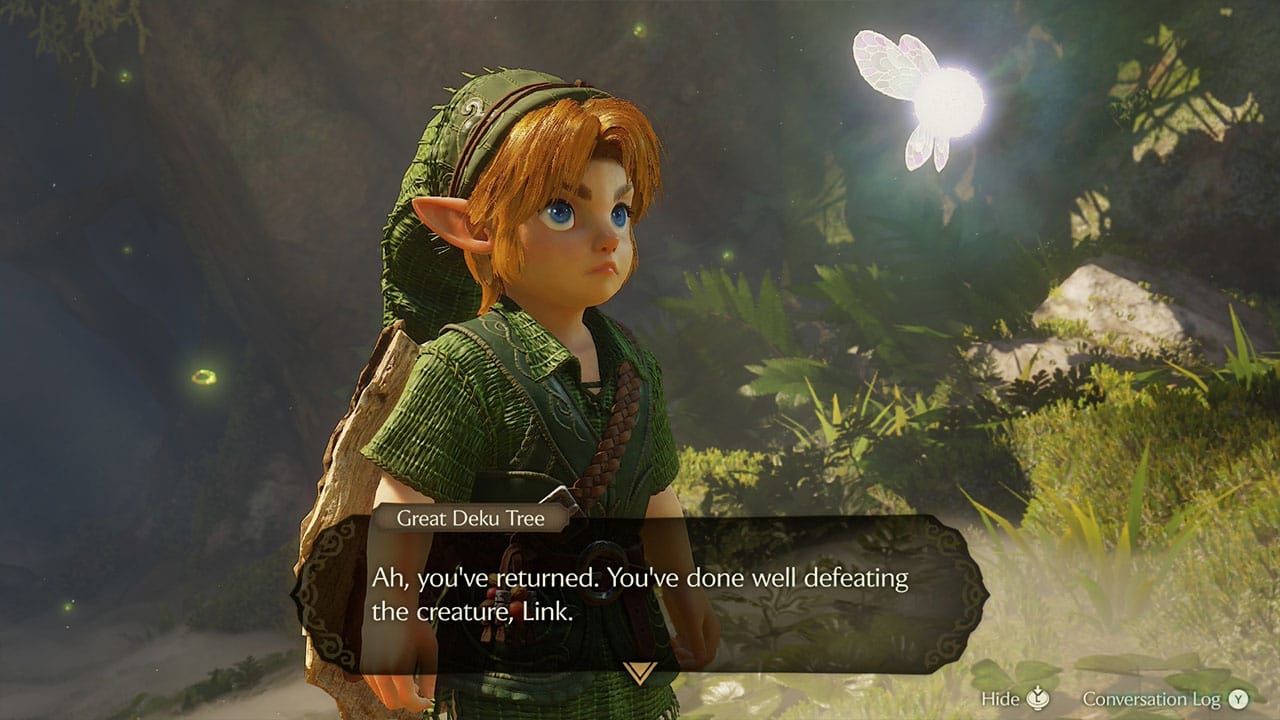
And that's a wrap; you've completed your first dungeon in Ocarina of Time. I hope this guide helped you, and don't worry - we'll be doing more to help you through the rest of the game, as there are so many different trading sequences and secret areas to find!


