So you want to experience Metroid Prime Remastered as the original intended? Then you need to learn how to change the controls in Metroid Prime Remastered.
There’s far more to this remaster than its good looks – there’s also four different control schemes, some of which will take you back to the glory days of the GameCube.
Those were the days!
For those new to Metroid Prime, the default option of dual sticks is the most logical choice because it’s a familiar setup for many gamers. But who said you had to go with the first option?
I’m not here to judge your choices, but I am here to show you how to change those controls whenever you want, and what each one offers.
How To Change The Controls In Metroid Prime Remastered
To change the control scheme press the ‘–’ button to bring up your Inventory, before using the R bumper to scroll across to Options. Now select Controls to cycle through the four choices available, then confirm your selection with the A button.
Before you confirm the control scheme you want, you can press the X button for a preview of each option.
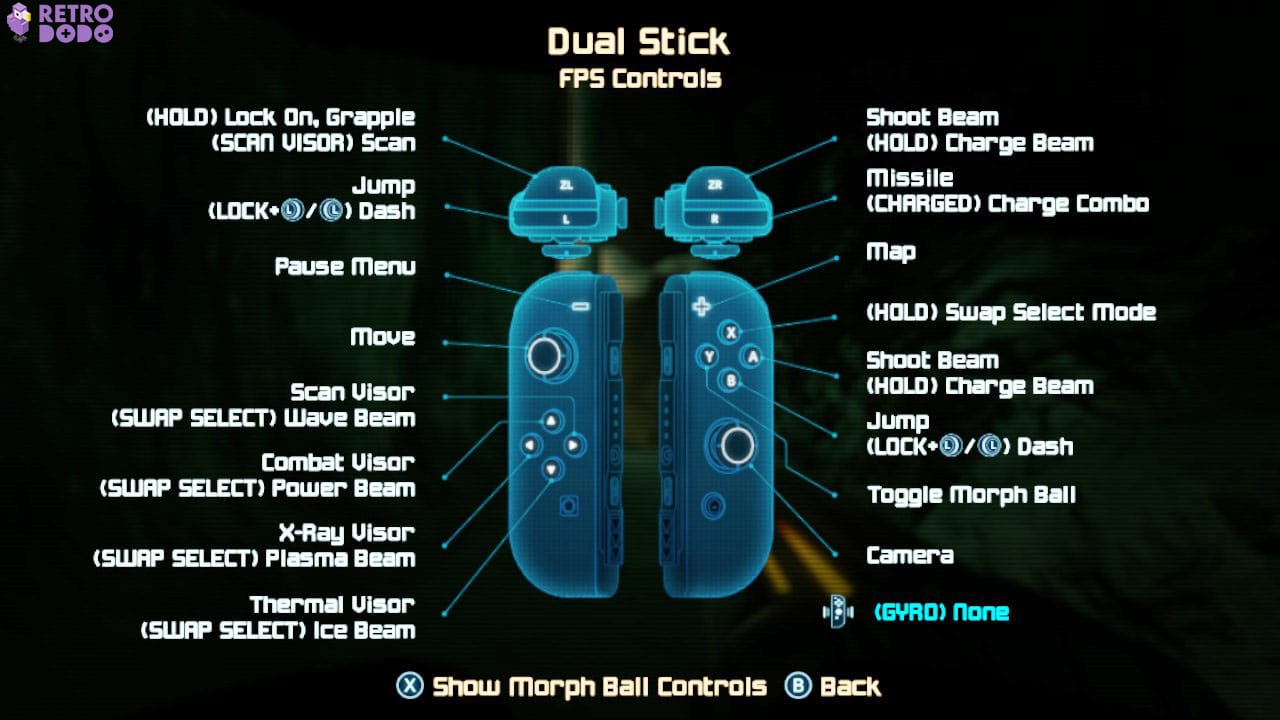
See? There’s nothing to it. Still, there’s no point knowing how to change the controls in Metroid Prime Remastered if you don’t know what each control scheme does…
Oh wait, I’ve got details on that too – check out the next section.
What Are The Control Options In Metroid Prime Remastered?
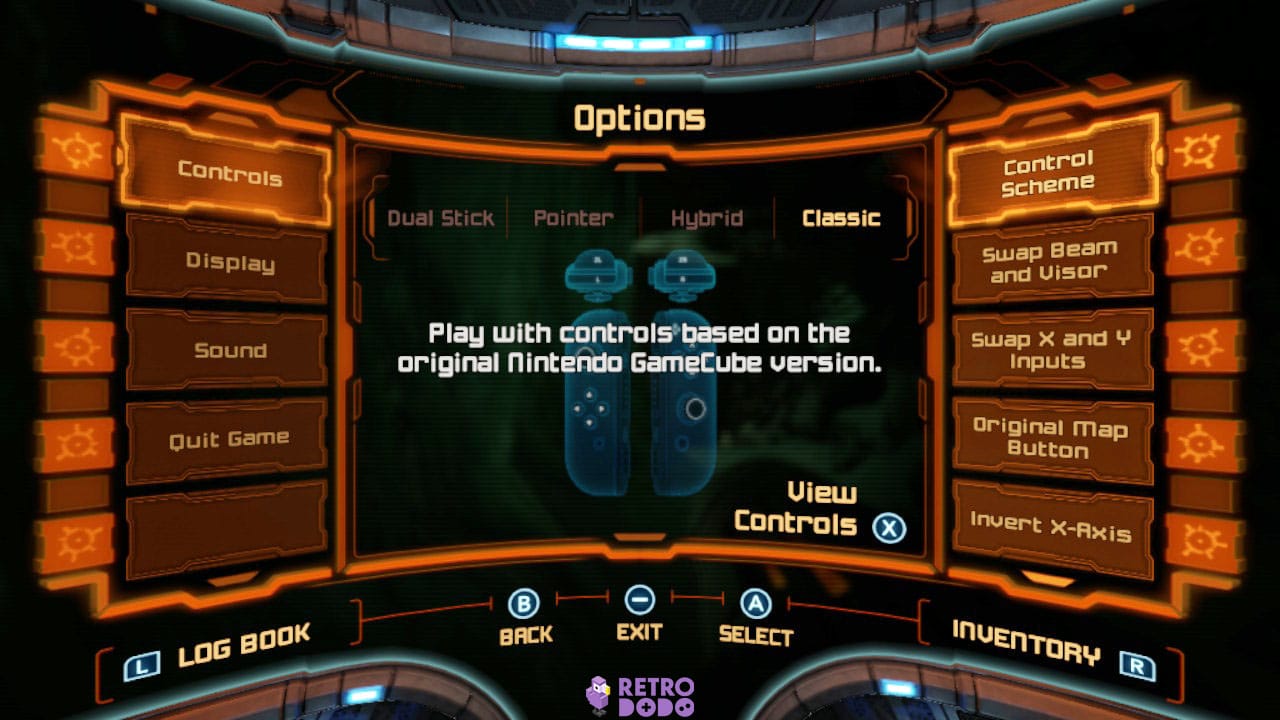
Although each control scheme offers a brief descriptor to help you choose wisely, the information is sparse. Not ignoring the fact it assumes you have prior knowledge of Metroid Prime.
Fortunately for you, I’m going to add some depth to what each control option means so you can make an informed decision.
Dual Stick
This is the default control scheme when you first launch Metroid Prime Remastered, and simply means you’ll use the L thumbstick to move and the R stick for the camera. Basically, the controls you see in modern games.
Why is this the default? Most of you will have more experience with today’s first-person shooters than retro ones, so dual stick controls will feel more intuitive.
Pointer
Pointer is the next control scheme, harking back to motion controls from the Metroid Prime Trilogy when it was released on the Nintendo Wii (ah, remember those days?).
Just like how you used to move the Wii controller to target your enemies, you can do so again, only this time using your Joycons or controller.
It’s a great option that offers a more immersive experience, but it does take some getting use to.
Hybrid
Metroid Prime Remastered’s third option is Hybrid, a combination of both Pointer and Classic controls.
The Hybrid control scheme allows you to target enemies one of two ways: using motion control by holding down ZR, or with the R thumbstick.
It’s a feature the Classic control scheme lacks, but I found myself forgetting I had the motion control option at all – it became pretty redundant.
Classic
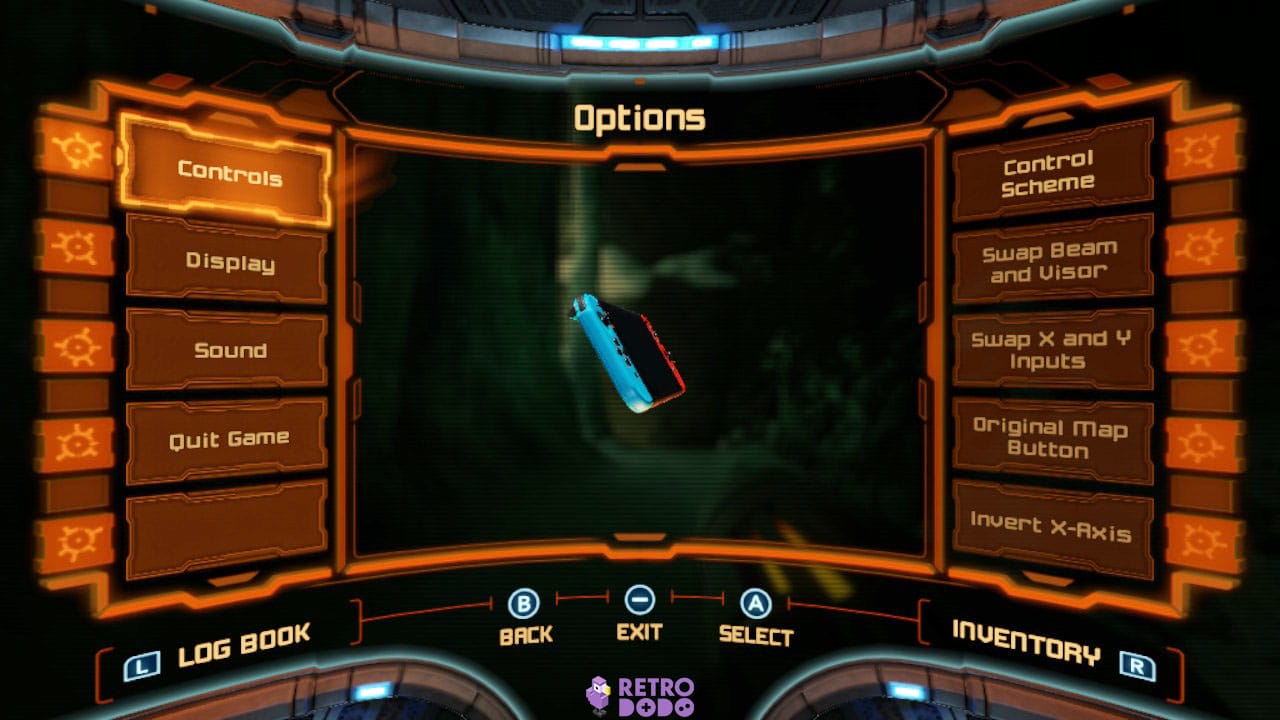
This option is based on the GameCube controls used in the original Metroid Prime. If you want to be hit with some nostalgia, I highly advise you try this control scheme.
Just keep in mind that the R thumbstick does nothing in this mode, with the heavy lifting done by the L stick and ZR. Bear in mind that, in this mode, Samus can’t shoot whilst moving.
I know there’s mysteries to unlock and aliens to kill, but don’t forget to test drive each of these controls before you make a firm decision – it’s more fun that way!
And if you’re still feeling more lost than Samus in the Chozo Ruins, I’ve got the 5 best Metroid Prime Remastered tips for beginners to help navigate your way to victory. I can’t help you read location maps better, but I can help you feel more at home in the Metroid Prime universe!


