If you’ve been desperately searching for runic symbols to unlock doors, I’m going to save you further agro and show you all Chozo Ruins rune locations in Metroid Prime Remastered.
I wouldn’t say they’re extremely difficult to find, but the swarming enemies and toxic water can make navigating the terrain hard – a scavenger hunt is no fun when you keep getting hurt!
Reading Retro Dodo’s 5 best Metroid Prime Remastered tips for beginners can help you get to grips with the basics, but this is the guide that’ll help you unlock the way to the big boss of this area.
Have you got your map ready? Good, then let’s go hunting for these runes.
The Watery Hall Rune Locations
This is the first area you’ll need to scan for runic symbols, which can prove difficult because it’s inhabited by some mean looking vines, ready to knock you into the toxic depths below.
Rune #1
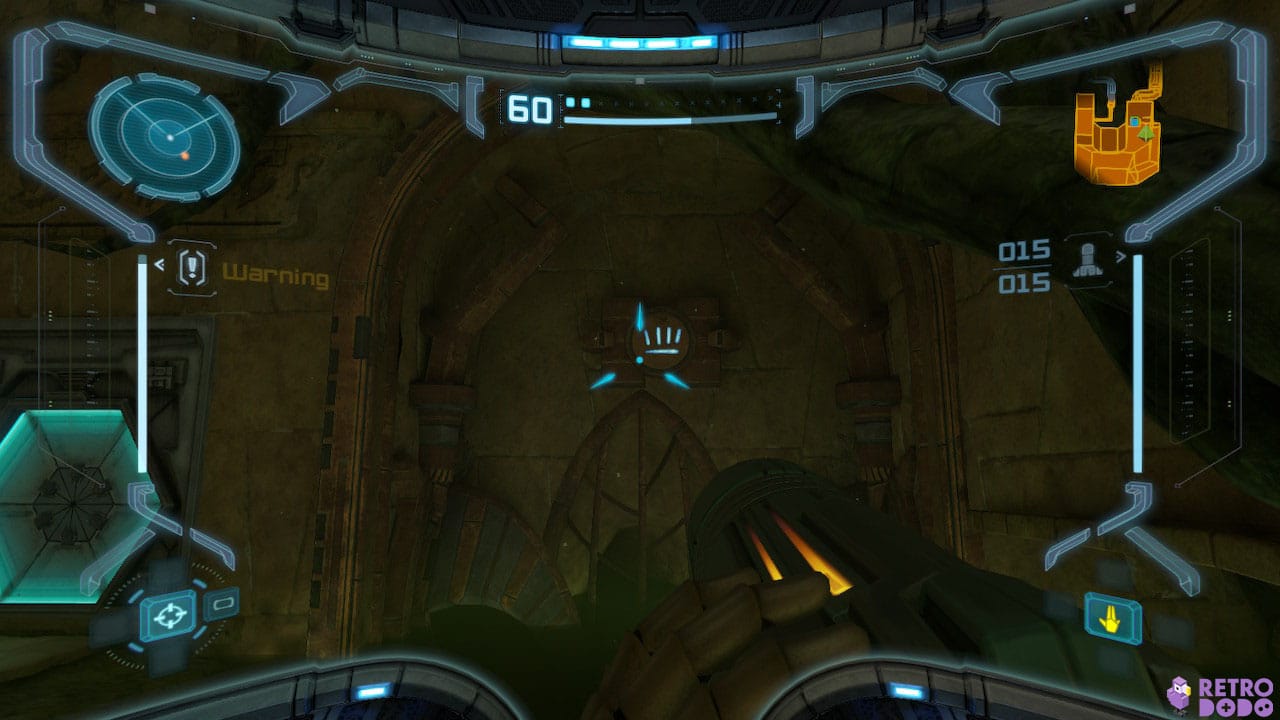
Despite being right by the entrance door, this rune is easy to miss if you don’t know where to look.
Hop onto the nearest platform, then turn around so you’re looking back at the door; on the right hand side, just above an iron grille, you’ll find the first rune to scan.
Rune #2
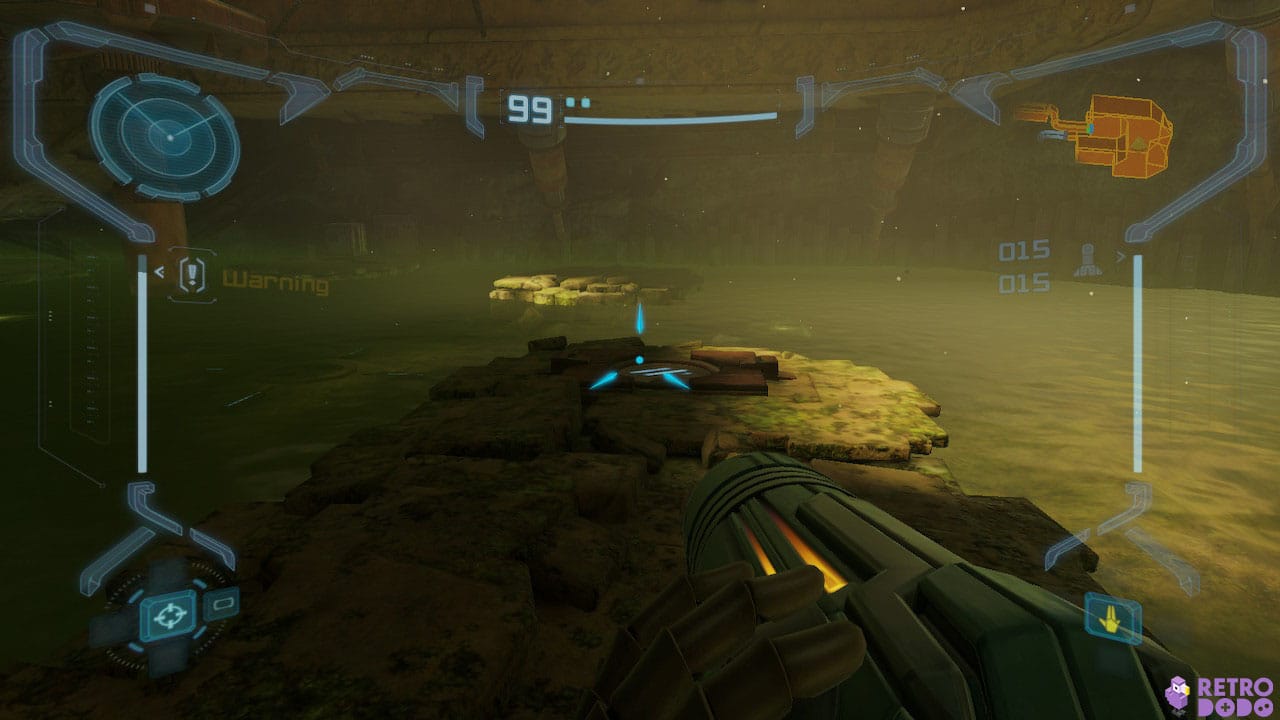
Remaining on the platforms, continuing making your way across the room until you spot some Blastcaps on the platform ahead.
These shrooms are hiding a runic symbol. You need to shoot them to reveal the rune and then quickly scan it, making sure to avoid any Reaper Tentacles coming your way.
Rune #3
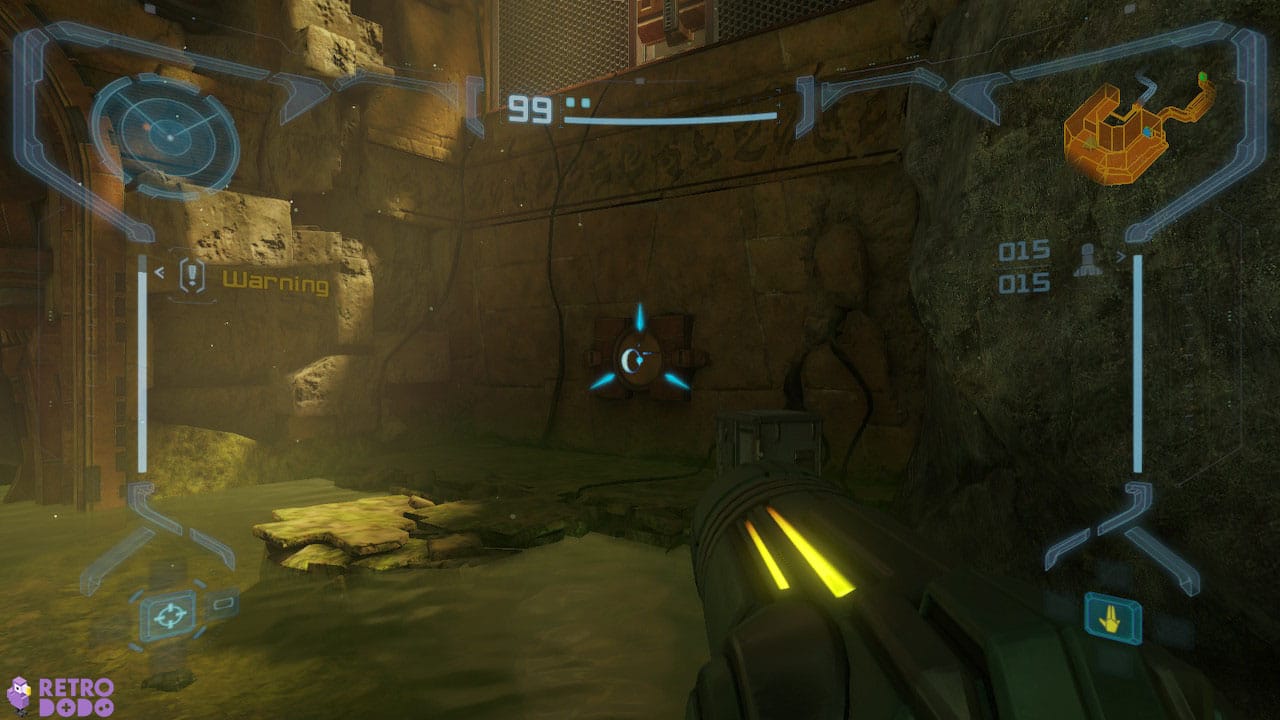
Two done, two to go. Push onwards to the end of these platforms to find the third rune on the wall; scan it, then make your way back to the entrance to The Watery Hall.
Rune #4
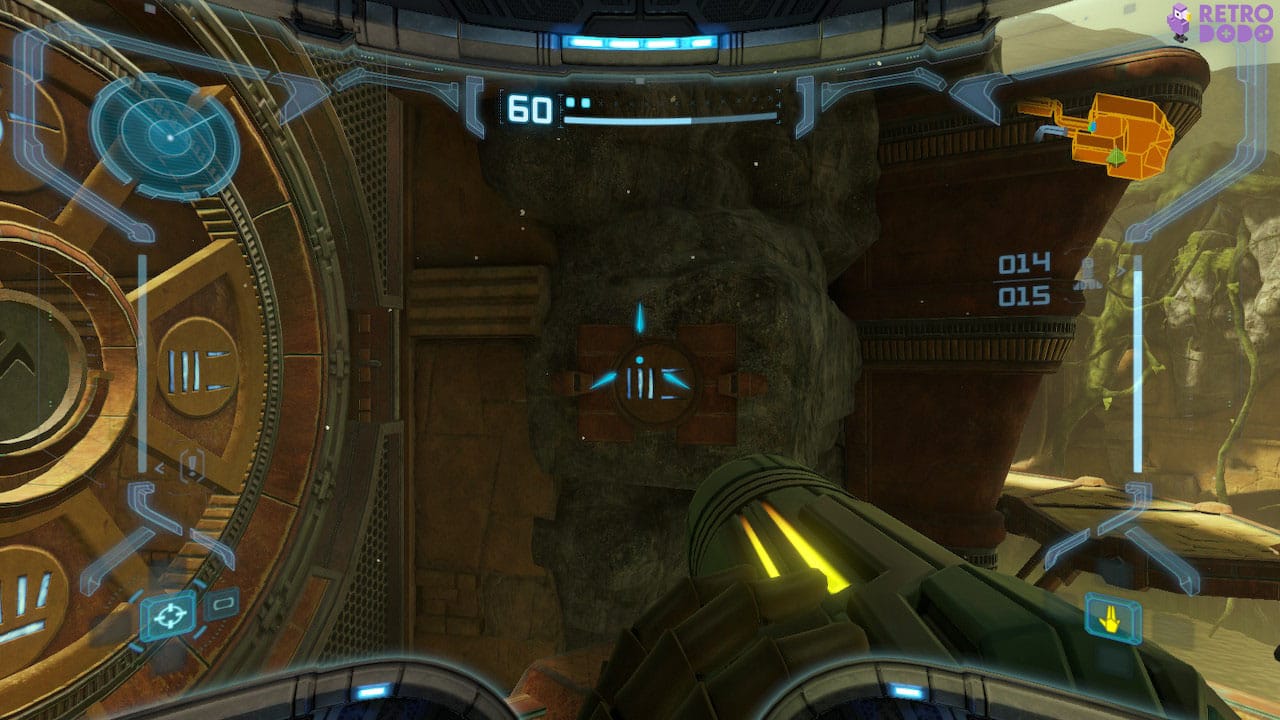
The last rune is right by the door you want to open, which is why you need to head back the way you came.
Platform across the room, making sure to avoid any swiping tentacles, then look for the final rune to the right of the runic door.
Technically, there’s a fifth rune you need to scan to unlock this door. However, because it’s on the door itself, it’s not one you’ll struggle to find.
The Arboretum Rune Locations
This hauntingly beautiful room houses a giant tree, one you must climb in order to reach Flaahgra, the next boss you have to take down.
Wasps are going to come at you constantly as you climb, so take them out with your missile launcher to make this process a lot easier.
Rune #1
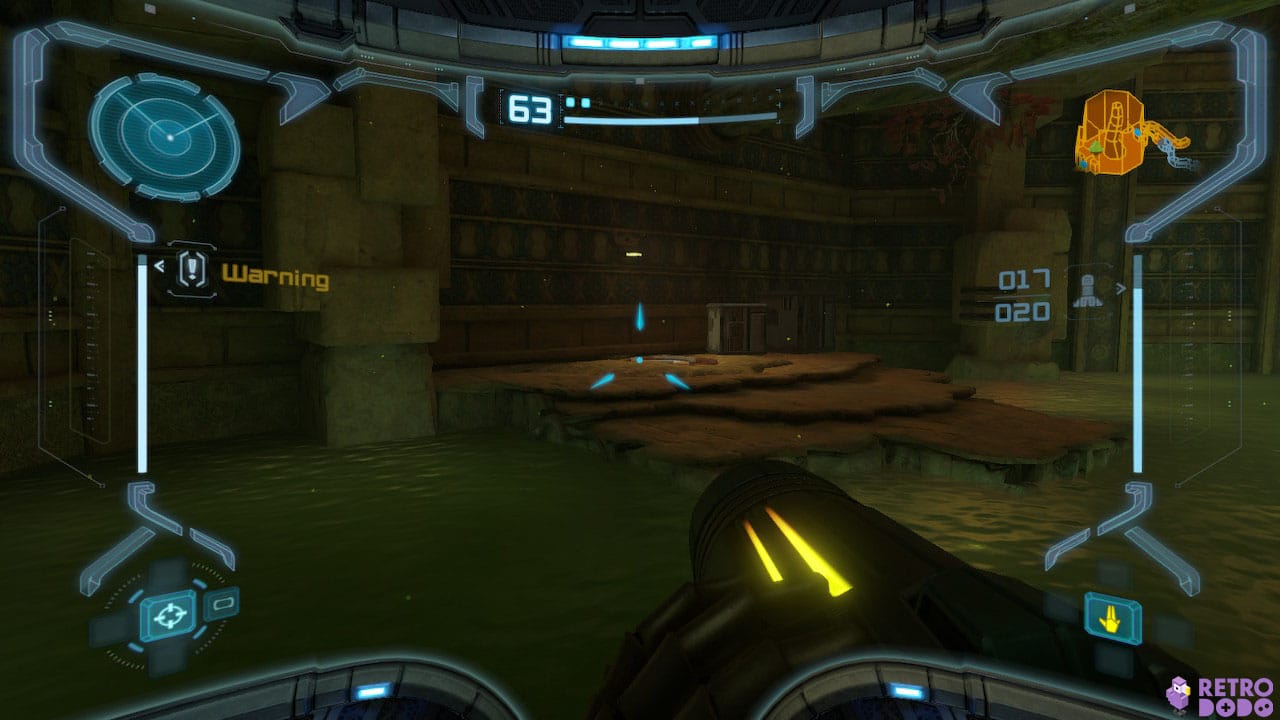
You want to keep your eyes peeled for a clump of Venom Weeds on one of the lower, circular platforms because these annoying flora are hiding the first of four runes.
Shoot them so they disperse, albeit momentarily, then scan the runic symbol.
Rune #2
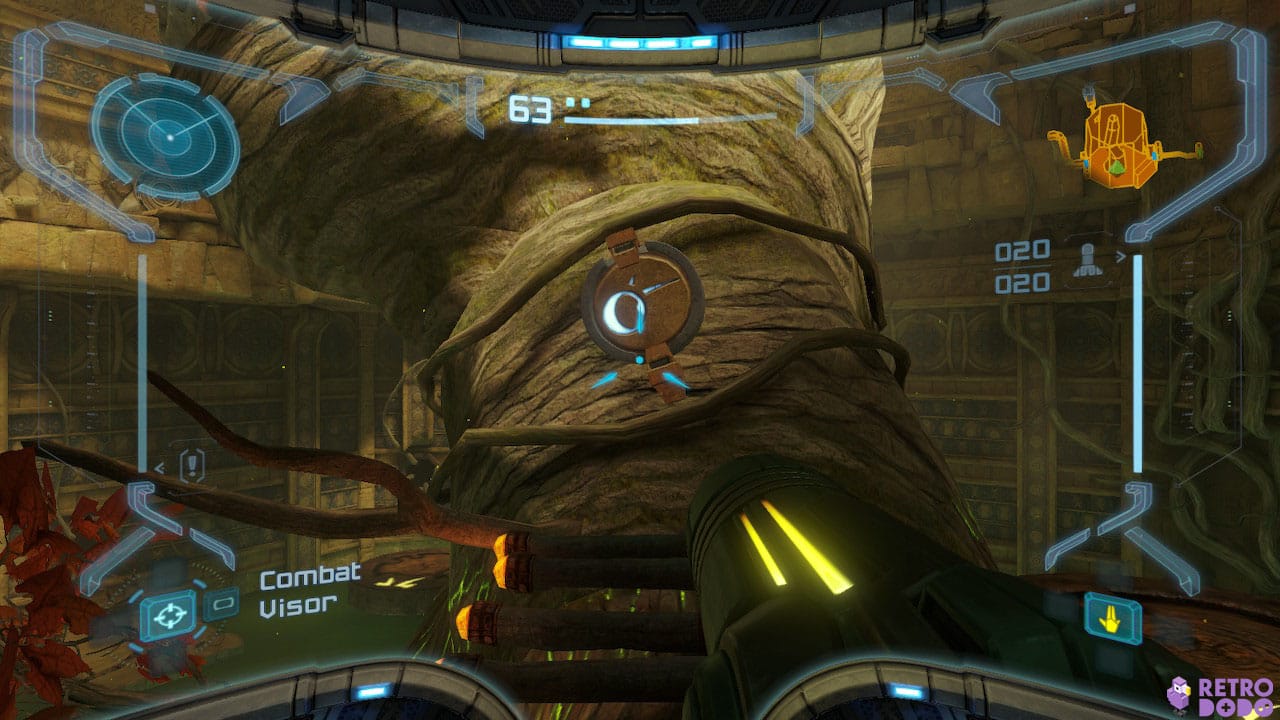
The second rune is right by this location, on the giant tree trunk across the first wooden bridge you see.
It’s such an obvious location, yet I missed it when I was scanning this room. Don’t be like me, scan it now to avoid having to retrace your steps to figure out what you missed.
Rune #3
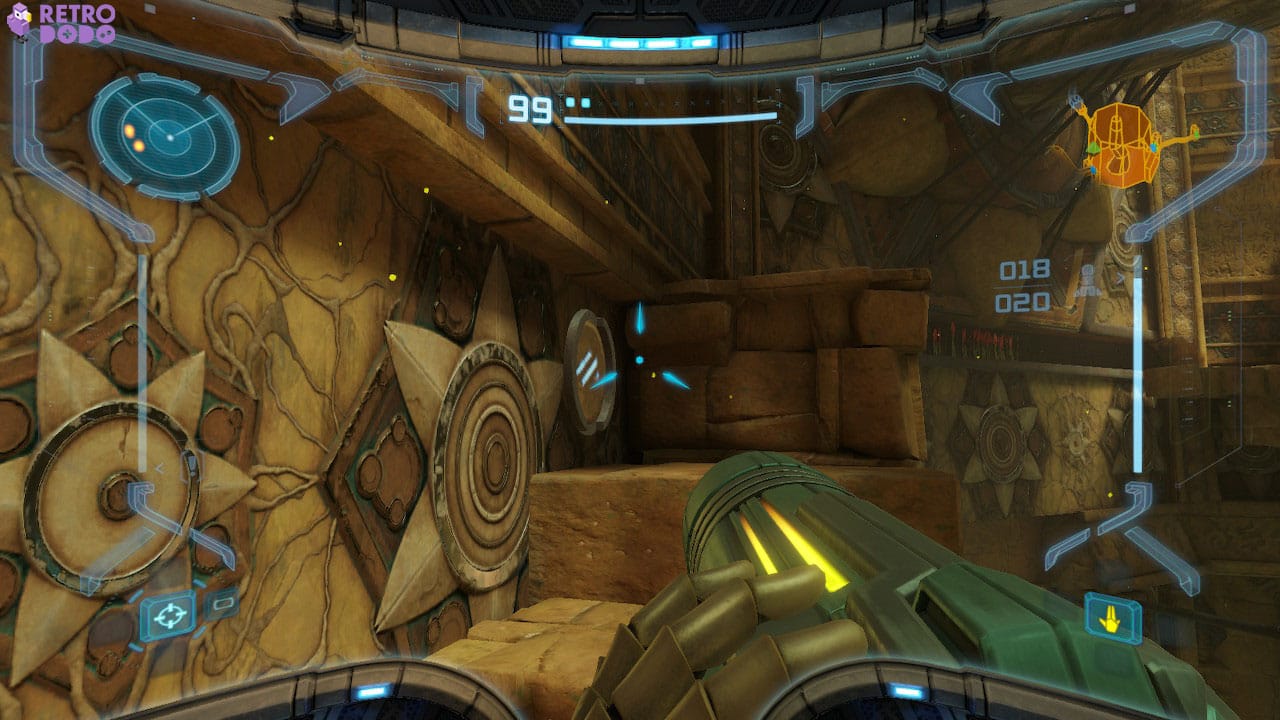
Keep climbing upwards until you see some wall carvings that perfectly fit your Morph Ball – change your form, then traverse the winding route using some well timed Morph Ball Bombs.
Once you’re out the other side, there’s a rune for you to scan.
Rune #4
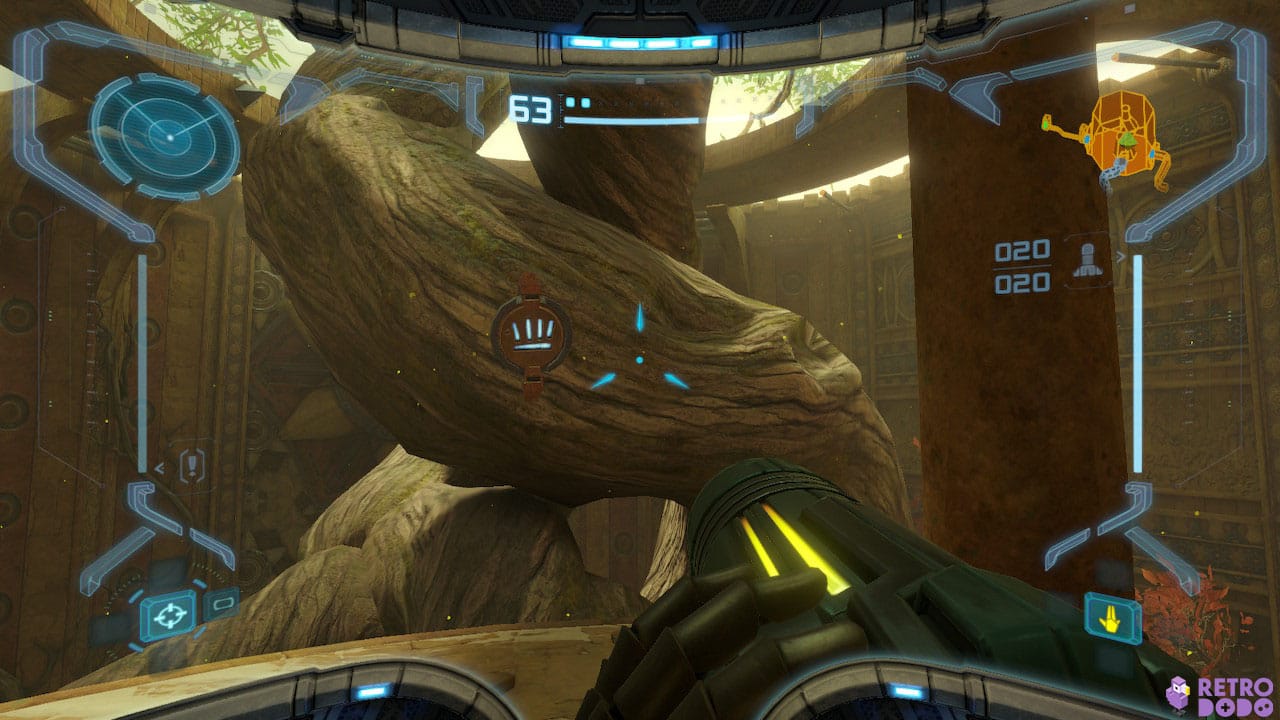
You only have one runic symbol left, and it’s all the way at the top of the room directly across from the door you’re trying to unlock.
Position yourself on the runic door platform, then turn around to face the trunk to discover the last rune. Unlike with the runic door in The Watery Hall, there’s no fifth rune to scan on the door itself.
You’ve done it! You’ve got the Charge Beam, and are primed and ready to defeat Flaaghra.
Thanks for checking out our article on how to find all Chozo Ruins rune locations in Metroid Prime Remastered!
If you’re still struggling to get to grips with the mechanics of this game, I’d suggest learning how to change the controls in Metroid Prime Remastered. You might find a control scheme other than the default that’s better suited to your gaming style.
How are you finding the remastered version of Metroid Prime? Let us know on Facebook, Twitter, and Instagram!


